Homemade DIY Moon Sand Fun
Here’s an easy way to keep the kids busy and engaged. Create your own sensory bins with DIY Moon Sand.
This recipe has been completely updated on 3-17-20. The instructions you see for cornstarch, coloring, and water are the only ingredients. We earn a commission on sales of products in this post.
I spent many years working in a daycare with a room full of rambunctious preschoolers. This age group has its challenges, but watching kids learn through play is something near and dear to my heart. Finding ways to keep them engaged and learning with fun open-ended materials was something I challenged myself to do daily.
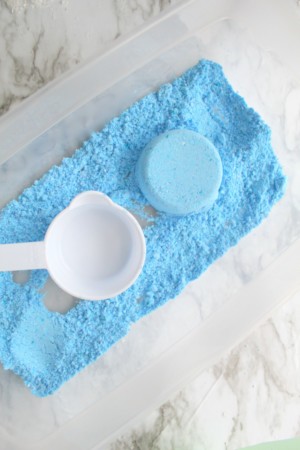
DIY Moon sand Supplies:
This recipe for moon sand is so easy and the cost is nominal compared to purchasing commercial moon sand. It will give you hours of play and fun. Plus, it’s not just for kids. Adults can dig right in, too.
Supplies needed:
– 4 cups of corn starch
– food coloring of your choice
– spray bottle of water
– mixing bowl
– plastic shoebox with lid. (Or any plastic container with a tight fitting lid)
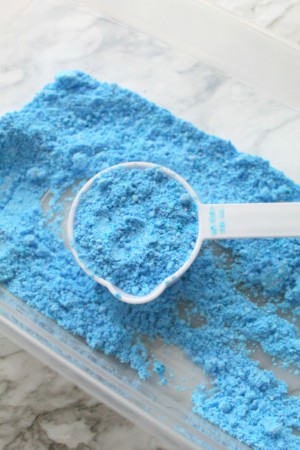
DIY moon sand instructions:
1. Pour the corn starch into your mixing bowl. Break up any chunks so it is a fine powder.
2. Add in 5-7 drops of food coloring. Mix well with a spoon or whisk. Add more or less food coloring depending on how deep you want the hue to be.
3. Start adding water via the spray bottle. Add a few sprays at a time mixing well as you go. The spray bottle allows you to control how much water you add. If you add too much, your mixture will turn to slime. Instead, add a few sprays at a time and keep mixing.
4. Stop when your mixture has a crumbly dough consistency. It will almost look like a dessert crumble! When you crush it in your hand, it will mold to the shape of your hand and stay that way. If it is still too crumbly, add a few more sprays. If it is too runny, you will need to add a tablespoon of start at a time until it meets the right consistency.
Storage tips:
Moon Sand is a perfect sensory activity. Place the moon sand in a plastic shoebox (Dollar Tree) for play. You can add scoops, measuring cups, spoons, etc. Squeeze it, mold it, smash it, add toys, use it to hide treasures and so much more. When you are done, you can simply place the lid on the container so it stays soft and can be played with later.
I used disposable gloves and mixed until everything was blended. As soon as it was all mixed the kiddos dug in, literally. They were thrilled with the Moon Sand and I was glad to be able to offer it to them with this easy low-cost recipe!
Do you make anything at home for your preschool-age kiddos? I would love to hear your thoughts and ideas!
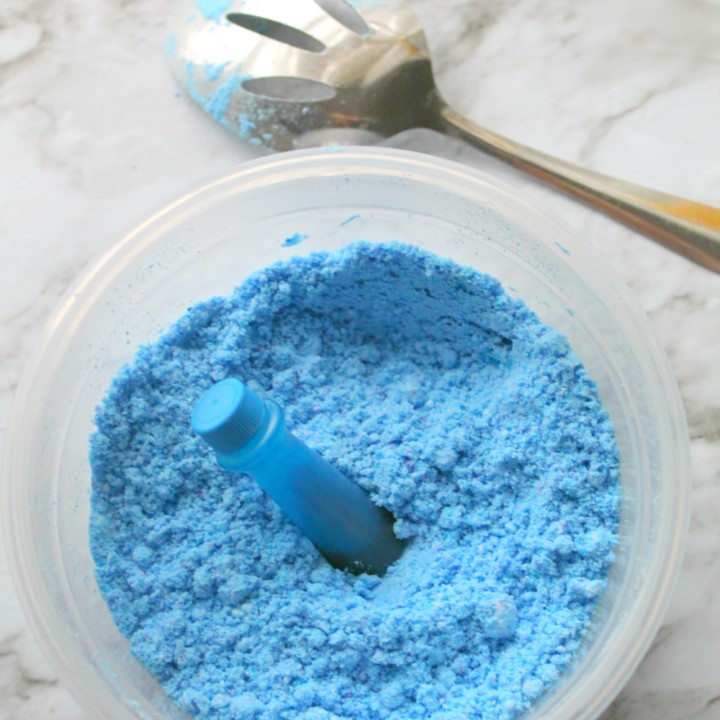
DIY MOON SAND
.
Materials
- 4 cups of corn starch
- food coloring of your choice
Tools
- spray bottle of water
- mixing bowl
- plastic shoebox with lid
Instructions
- Pour the corn starch into your mixing bowl. Break up any chunks so it is a fine powder.
- Add in 5-7 drops of food coloring. Mix well with a spoon or whisk. Add more or less food coloring depending on how deep you want the hue to be.
- Start adding water via the spray bottle. Add a few sprays at a time mixing well as you go. If you add too much water, your mixture will turn to slime. Instead, add a few sprays at a time and keep mixing.
- Stop when your mixture has a crumbly dough consistency. It will almost look like a dessert crumble! When you crush it in your hand, it will mold to the shape of your hand and stay that way.
Notes
If your mixture is too crumbly, add a few more sprays water. If it is too runny, you will need to add a tablespoon of corn starch at a time until it meets the right consistency.
When you are done, you can simply place the lid on the container so it stays soft and can be played with later.


There is no mention of oil, baby or otherwise, on the entire page–only in the comments. Could you tell me, please, how much oil is necessary and when to add it? Thank you
This recipe has been completely updated. The instructions you see for cornstarch, coloring and water are the only ingredients. Thank you!
I’m not seeing when or how much baby oil to ADD? Looks like fun activity
This recipe has been completely updated. The instructions you see for cornstarch, coloring and water are the only ingredients. Thank you!
What a great idea but I think storing it in a air tight container will make it more moised and soft to mold for more than 2 weeks.
My preschooler loved it so much
Thanks for sharing such a great idea! I think our grandkids would love this. I really appreciate you sharing at The Living With Style LInky Party. 🙂 ope to see you again this week!
Hugs,
Lory
http://www.therobinsnestdesigns.com
Coming from Inspiration Monday… awesome idea! Saving this one for my SS class. Do you cover it in between uses? ~Rhonda
I did not cover it, but it was in a daycare room, so no exposure to outdoors, etc.
Can I use vegetable oil instead of baby oil? For one thing, that would make it edible for the littler ones, and I have veg oil on hand at school and keep forgetting to buy baby oil.
Veggie oil may go rancid? I am not sure. I would make a small amount and see how it works. Good luck
I’m thinking about making some for my soon-to-be 2 year old……just in case though, is it edible ?? or does the baby oil ingredients make it a just-not-ready tool for toddlers?
I don’t think I would consider this edible. We used it for kiddos age 3 & up. You may want to make a more edible sensory item like edible playdough or pudding to use just in case. Thanks
I am planning on doing a Space lesson in our class and I was just wondering how long did this mix hold up or did you keep it in your sensory table?
Hi Malinda
I had it in the sensory table for almost 2 weeks and another teacher let the kiddos add water to the sand and that ruined it. So, I can’t say for sure how long it would have lasted. We switched to colored sand for summer, so haven’t made a new batch yet.
Good luck!
Thanks for stopping by!
Michele