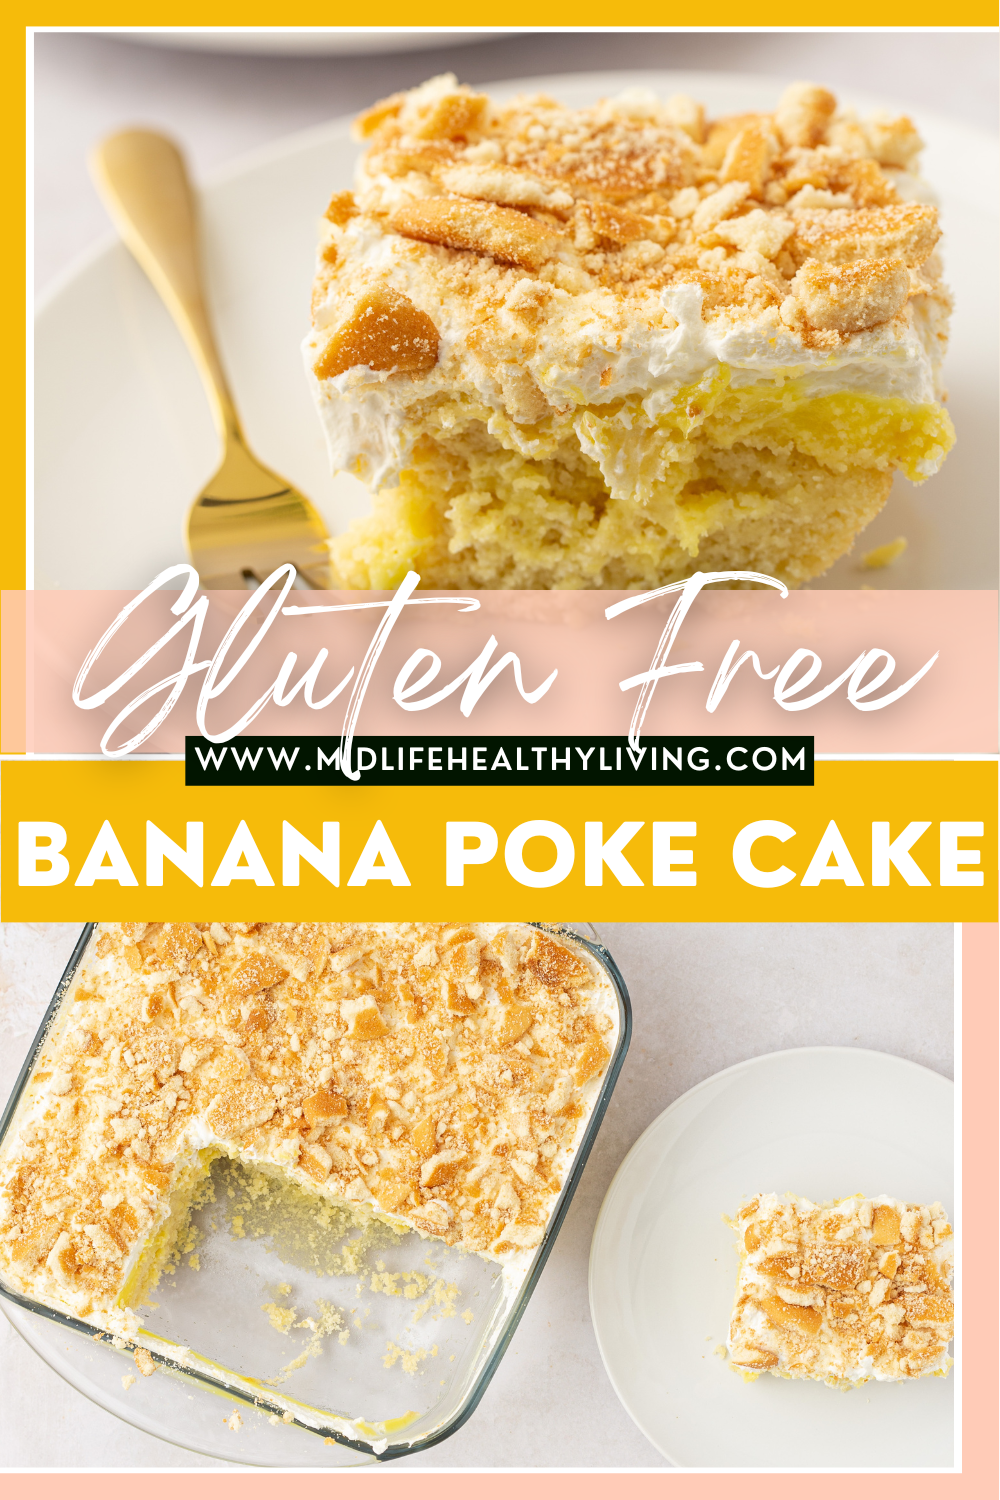
Gluten Free Banana Poke Cake
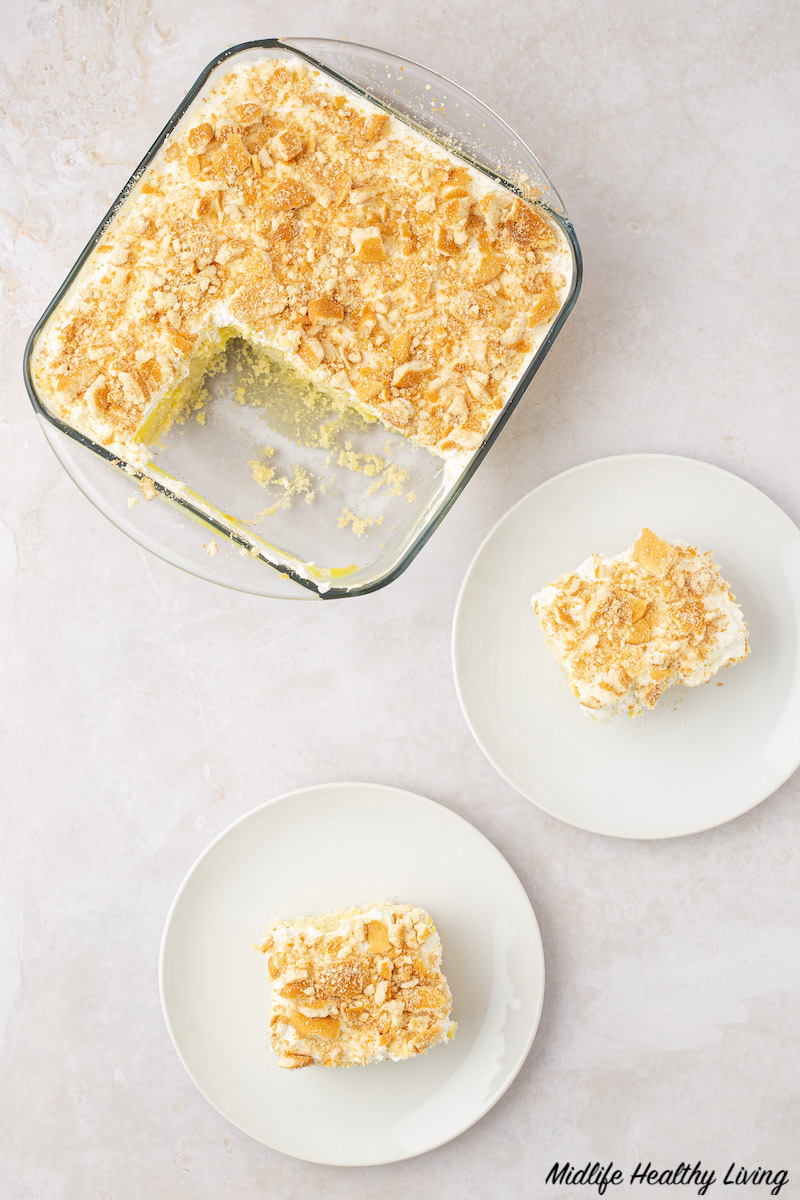
Calling all banana pudding lovers! This delicious gluten free banana poke cake is perfect for sharing, everyone can enjoy this indulgent treat. Be sure you visit all of our healthy banana recipes for more delicious dessert ideas.
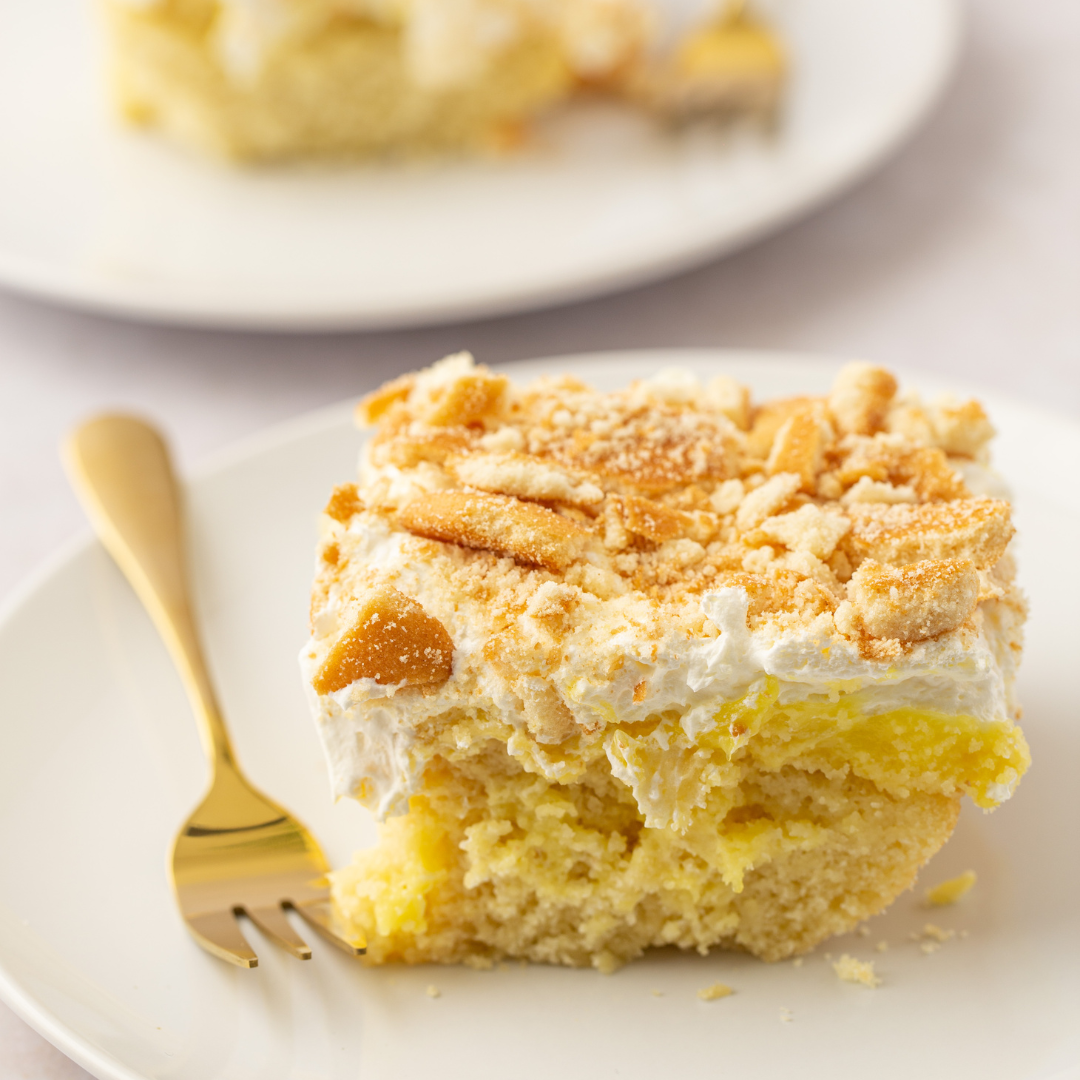
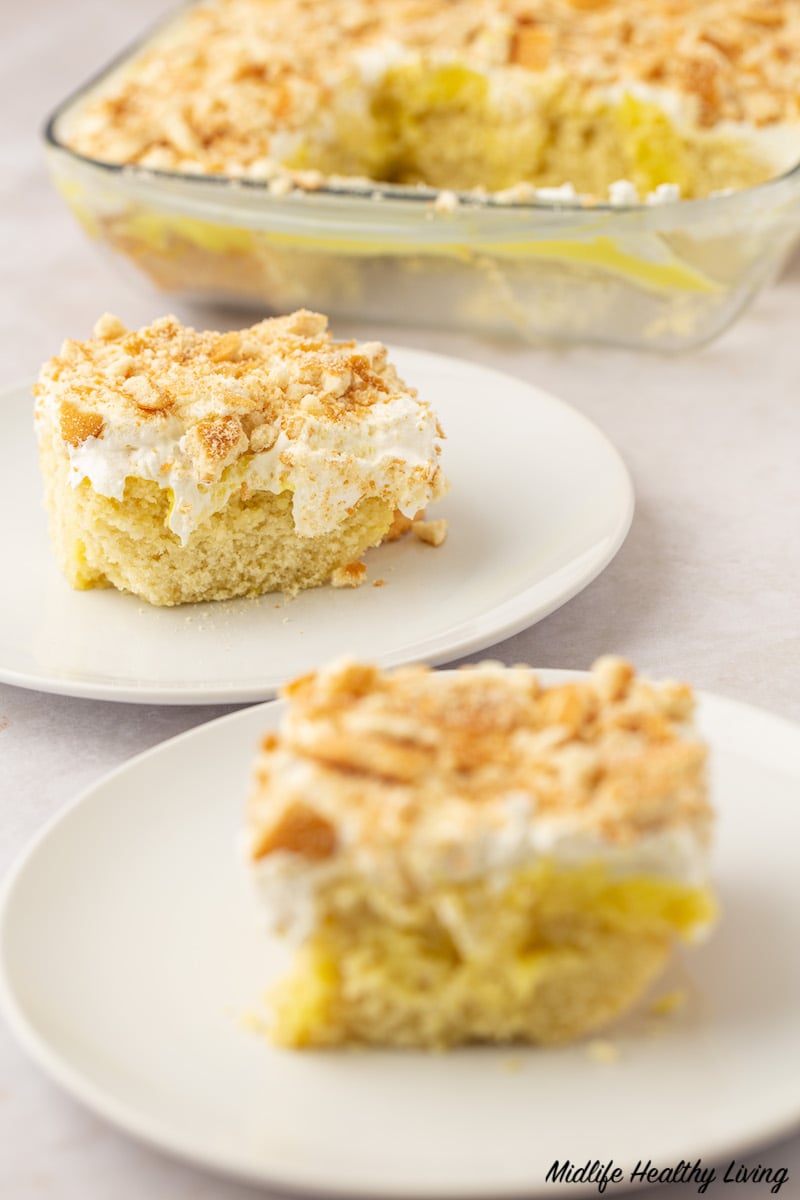
This banana pudding cake is very similar in flavor and the texture is similar as well. The pudding really allows this cake to stay super moist and flavorful.
Our healthier banana pudding recipe is one of the most popular desserts that we share! It’s tasty and simple just like this gluten free banana poke cake!
This recipe post contains affiliate links to products used in the recipe. If you click through and make a purchase we make a commission.
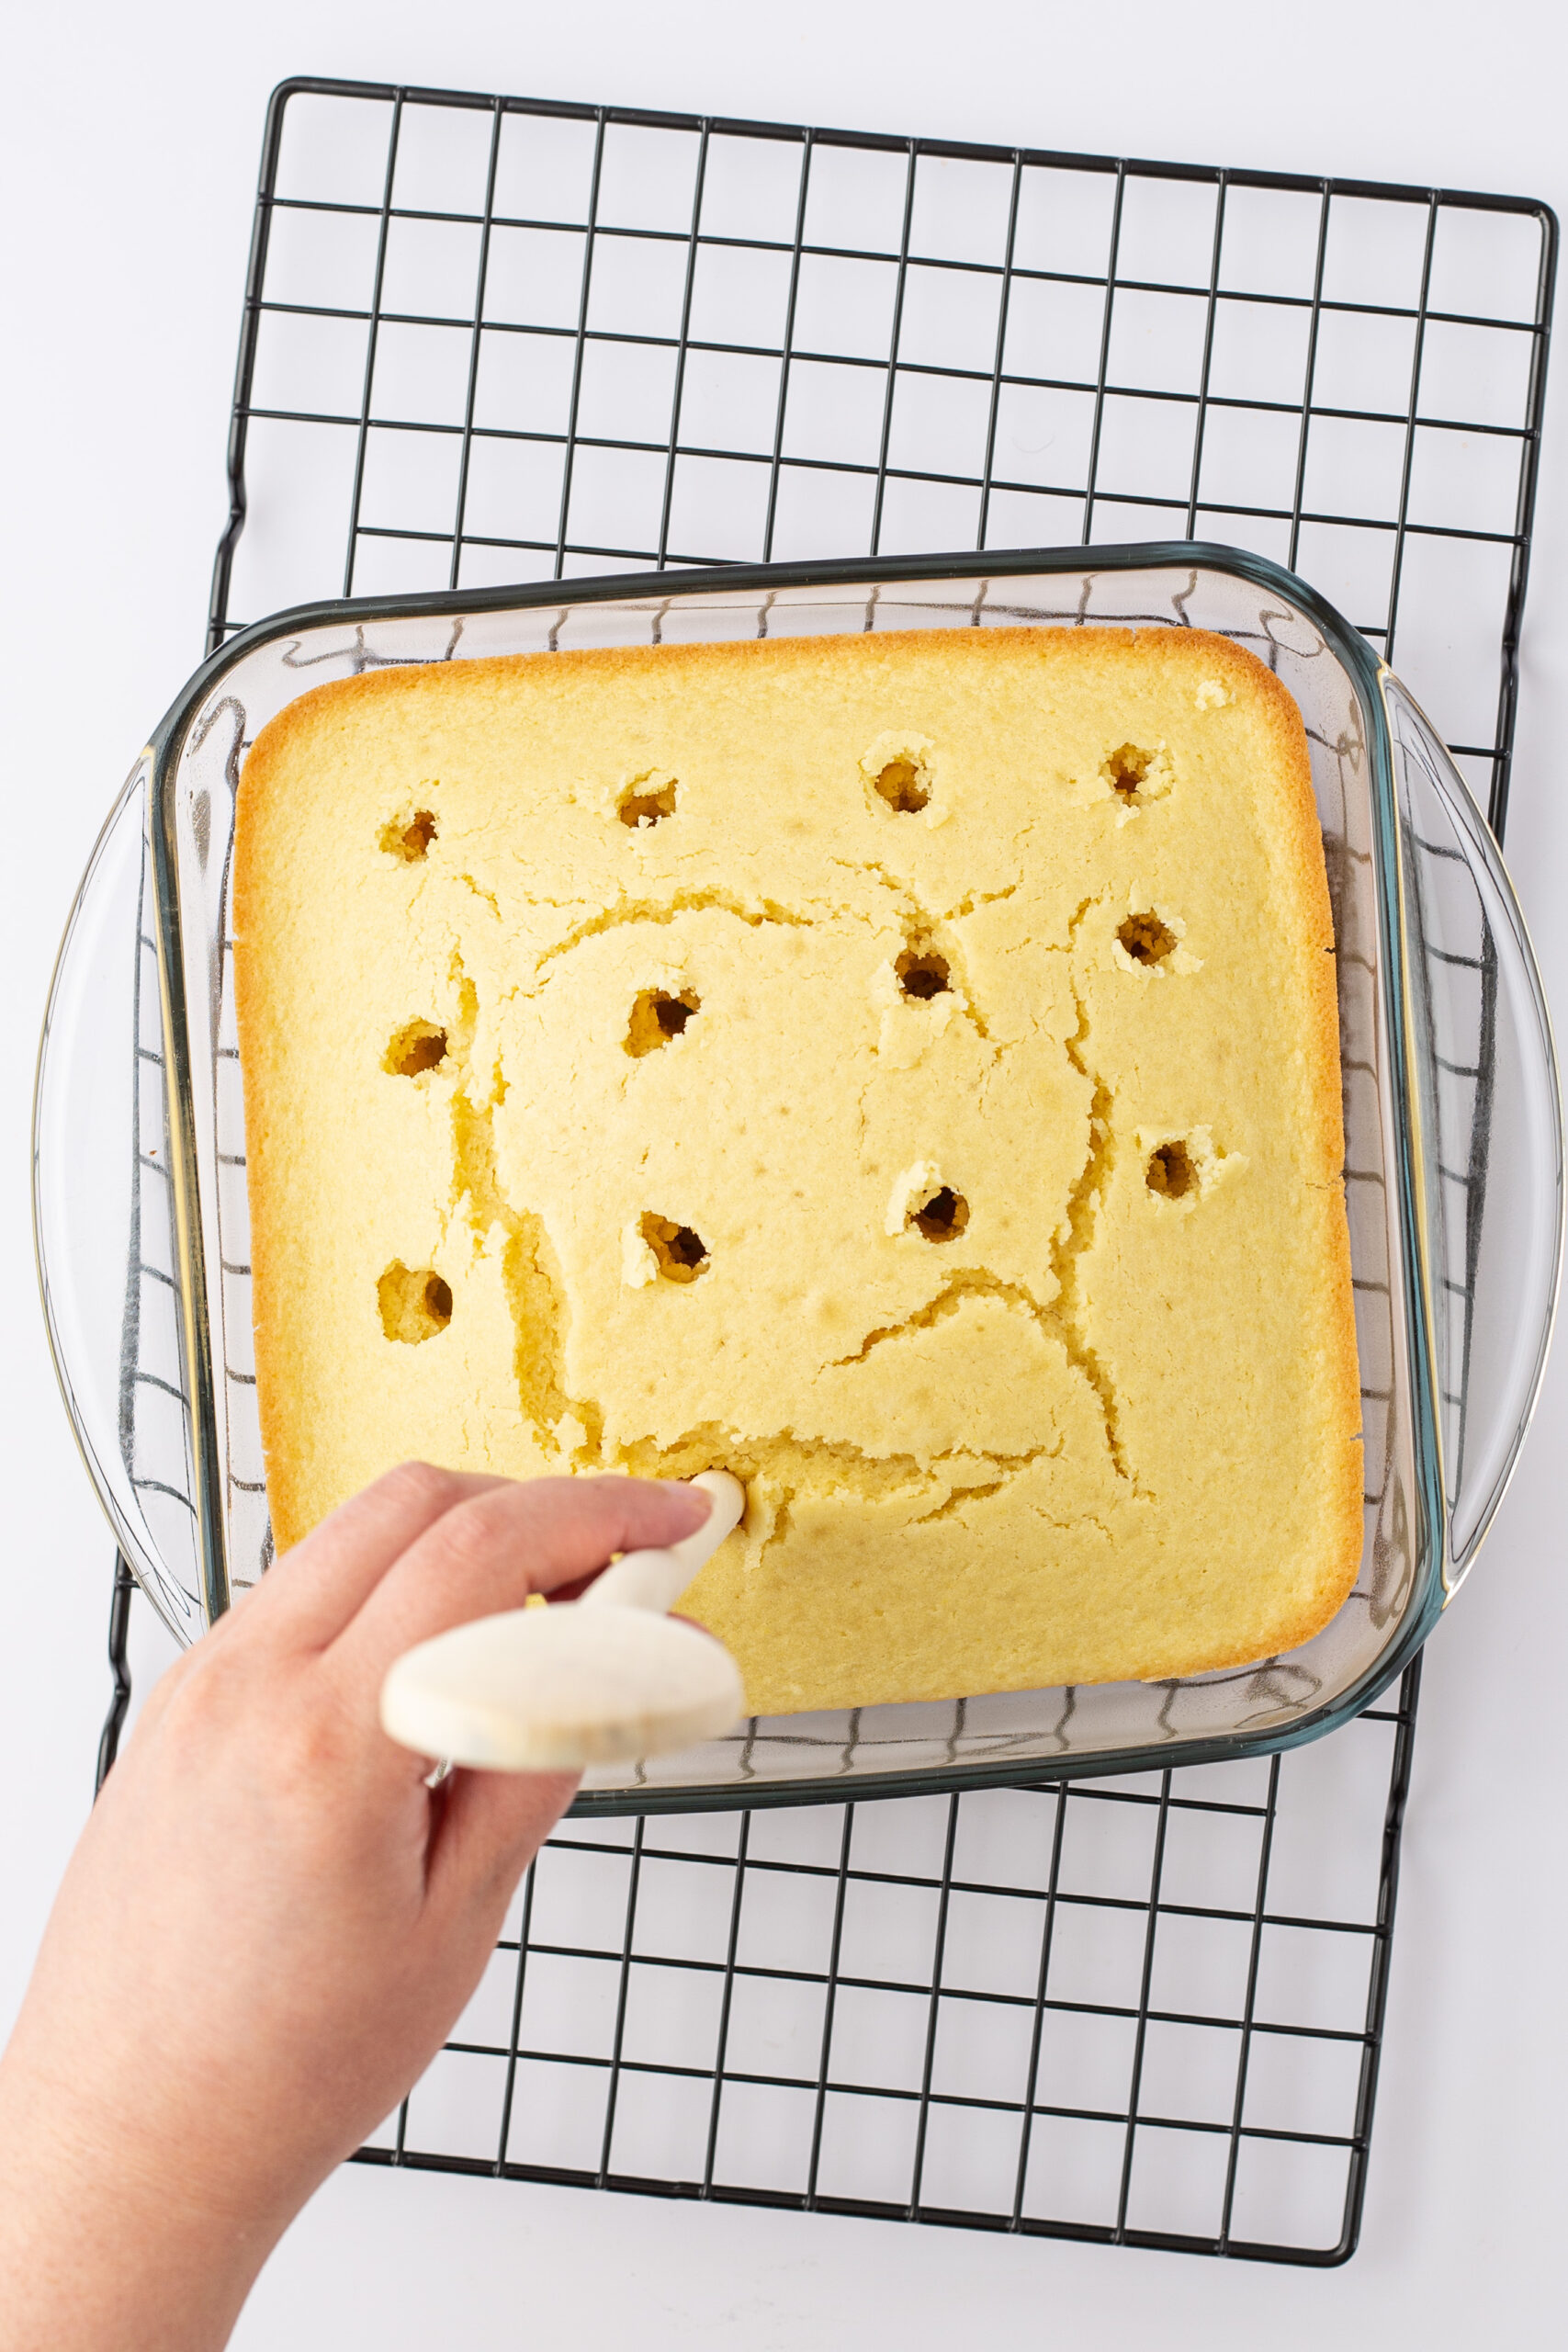
For those of you who are new to making poke cakes, it’s not a difficult process. You will see below in the process photos that we’re just taking a spoon handle and jabbing some holes into the cake once it’s cooked.
Then, when the pudding layer and the whipped cream layer are added they settle down into he holes. This allows the flavors and the moisture to spread out throughout the whole cake! It makes for a very delicious treat that stays creamy and delicious even after a day or two.
Do I have to make this gluten free?
You do not have to make this banana pudding poke cake gluten free. You can use whatever kind of cake mix you want to prepare this recipe, as well as whatever kind of Nilla wafer cookies.
I really think this gluten free version of a classic recipe comes out well. The moisture from the pudding and whipped cream really helps keep the cookies and cake moist which can sometimes be an issue with gluten free mixes.
Nothing is better than showing up to an event with a dessert that someone thinks they won’t be able to have, only for them to find out they can, enjoy it like everyone else. It’s a great treat to whip up easily and quickly as well, with no extra muss or fuss. These fun to make gluten free cakesicles would be another great dessert option for events.
What do I need to make gluten free banana poke cake?
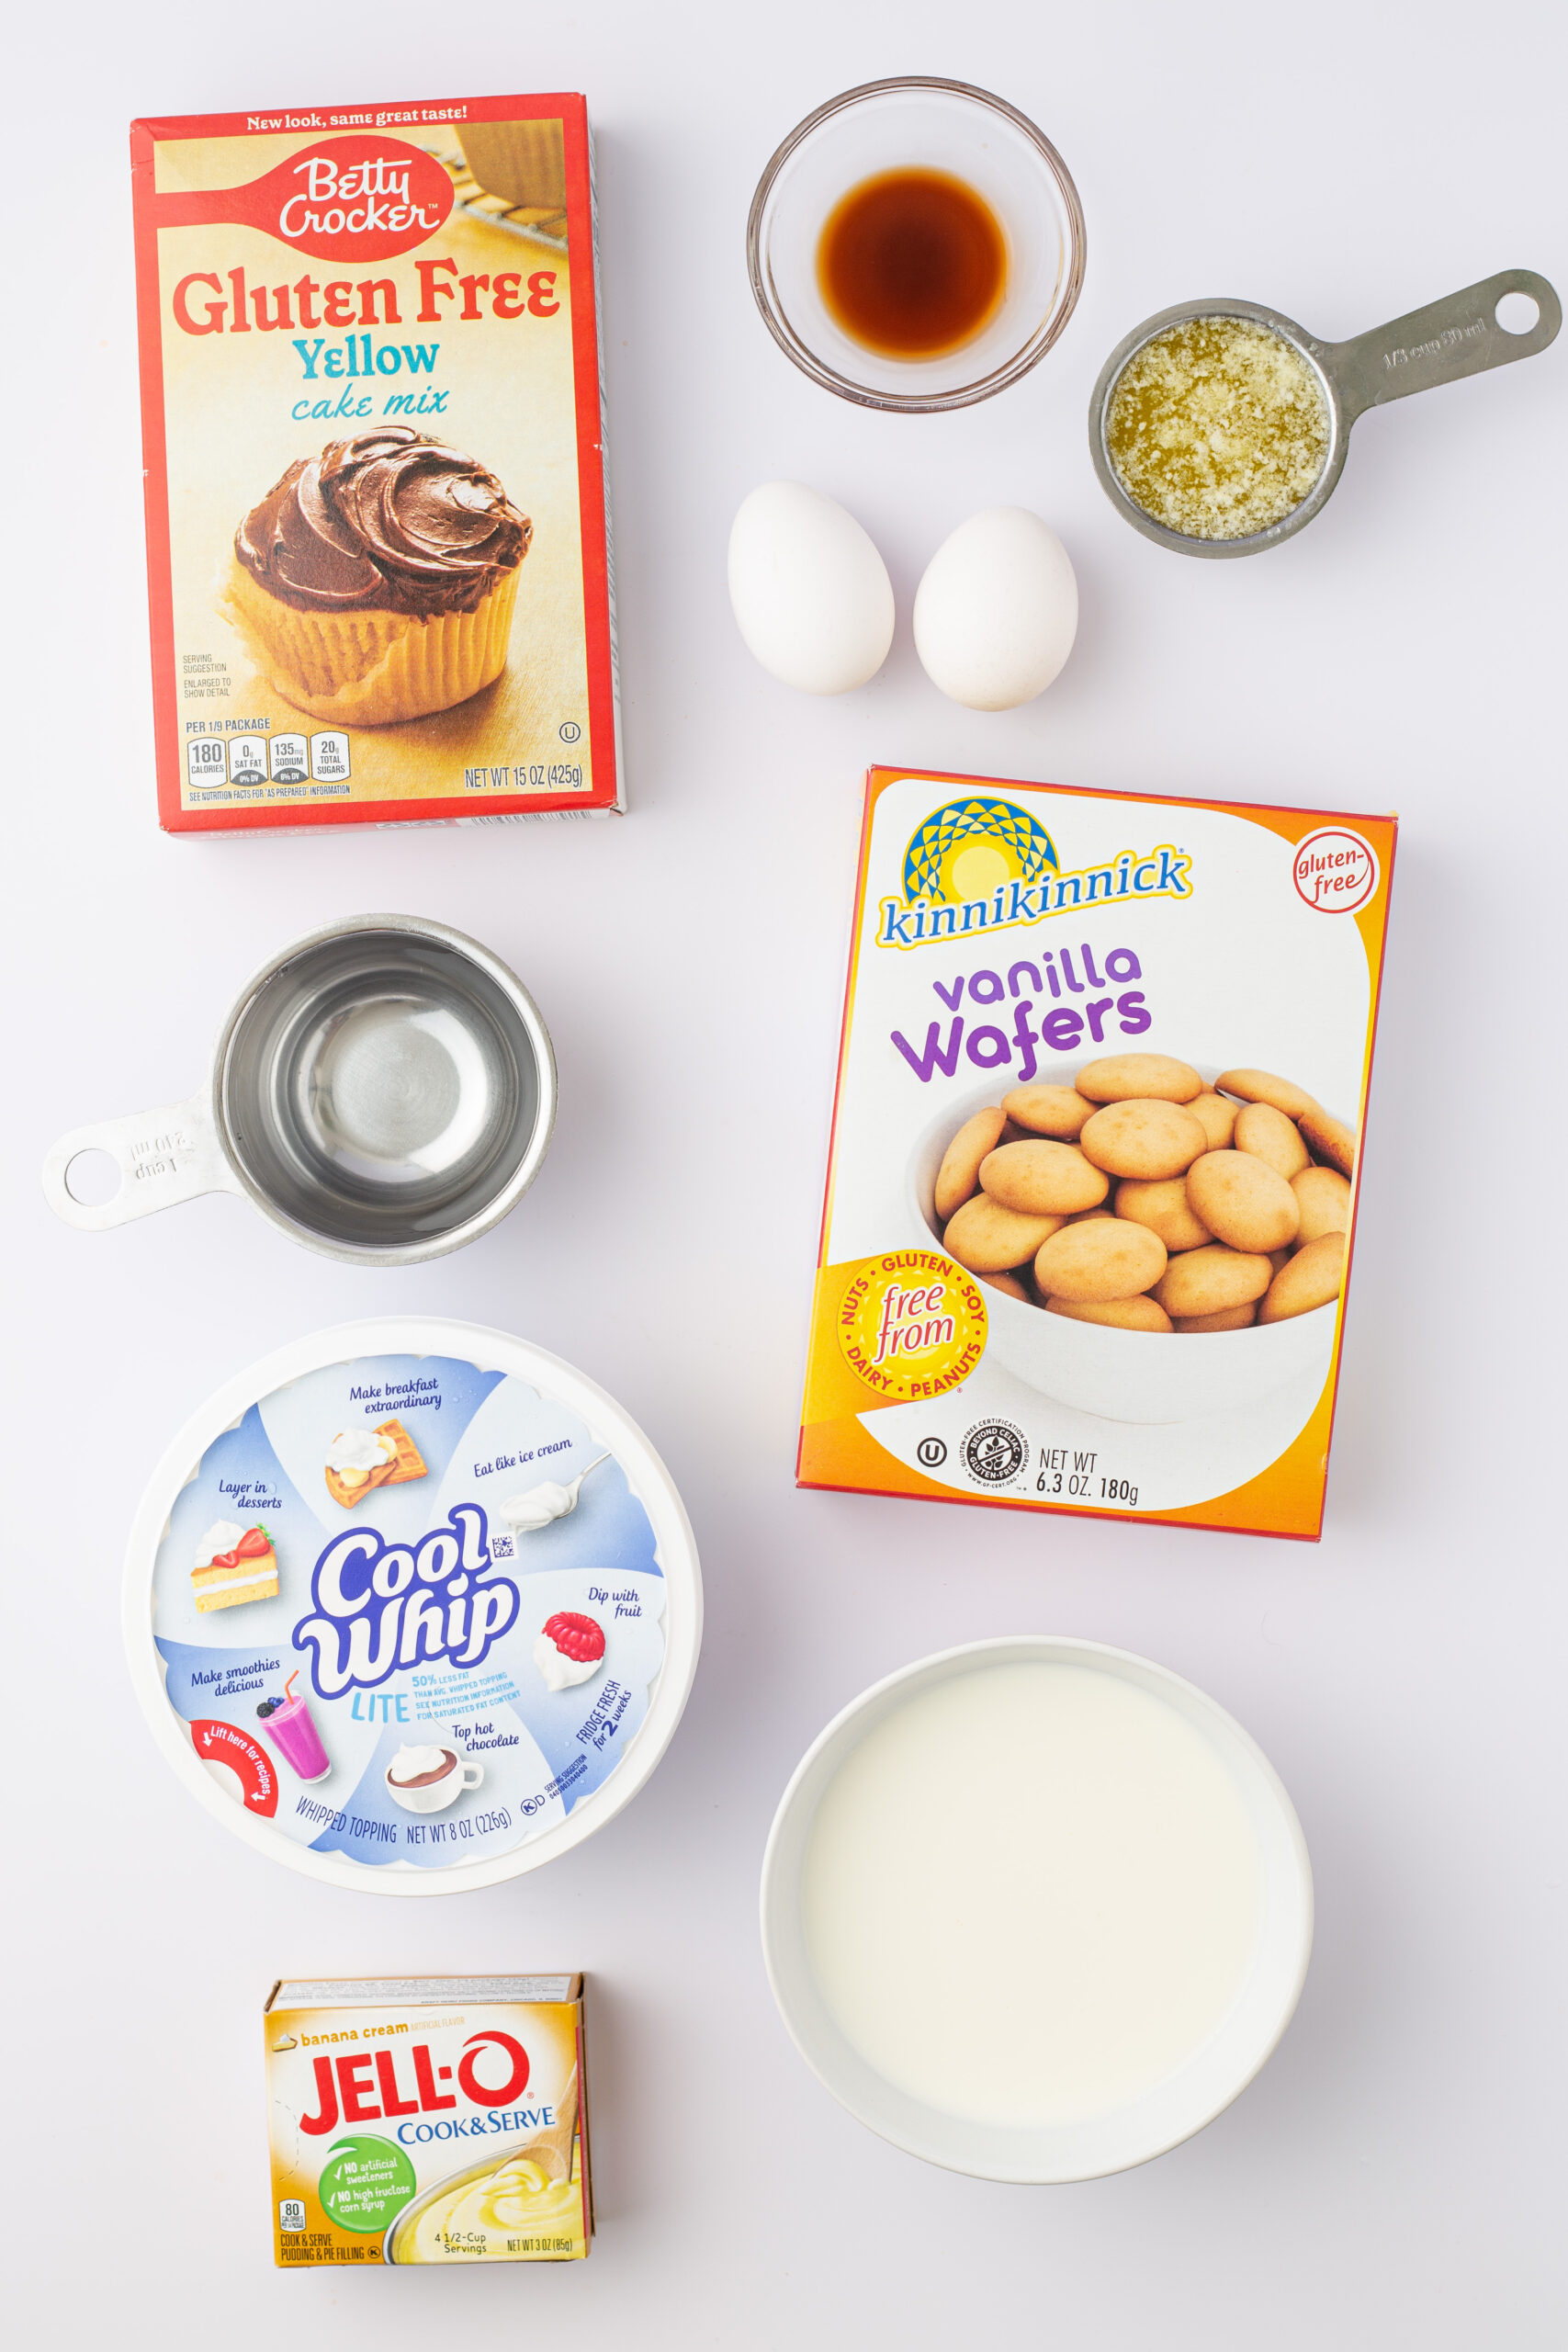
This recipe uses gluten free Betty Crocker cake mix, the ingredients listed to prepare it, gluten free vanilla wafers, lite Cool Whip, and banana cream instant pudding along with the ingredients to prepare it.
That’s all it takes to whip up this delicious dessert. You’ll love how simple it is and how flavorful the end result is, no one can deny this indulgent summer treat.
Here are some kitchen essentials that I like to have on hand when making recipes like this:
Making tasty treats is a breeze with these kitchen essentials. Keeping things like this on hand makes my life so much easier in the kitchen.
Some things that are great to have on hand when prepping recipes like this is a cutting board, sharp knives, and storage containers.
You can also benefit from baking pans, a kitchen scale, measuring cups, and these mixing bowls!!
How to make a gluten free banana pudding cake:
Preheat the oven to 350 F spray the bottom of a 9×9 baking pan with cooking spray and set aside.
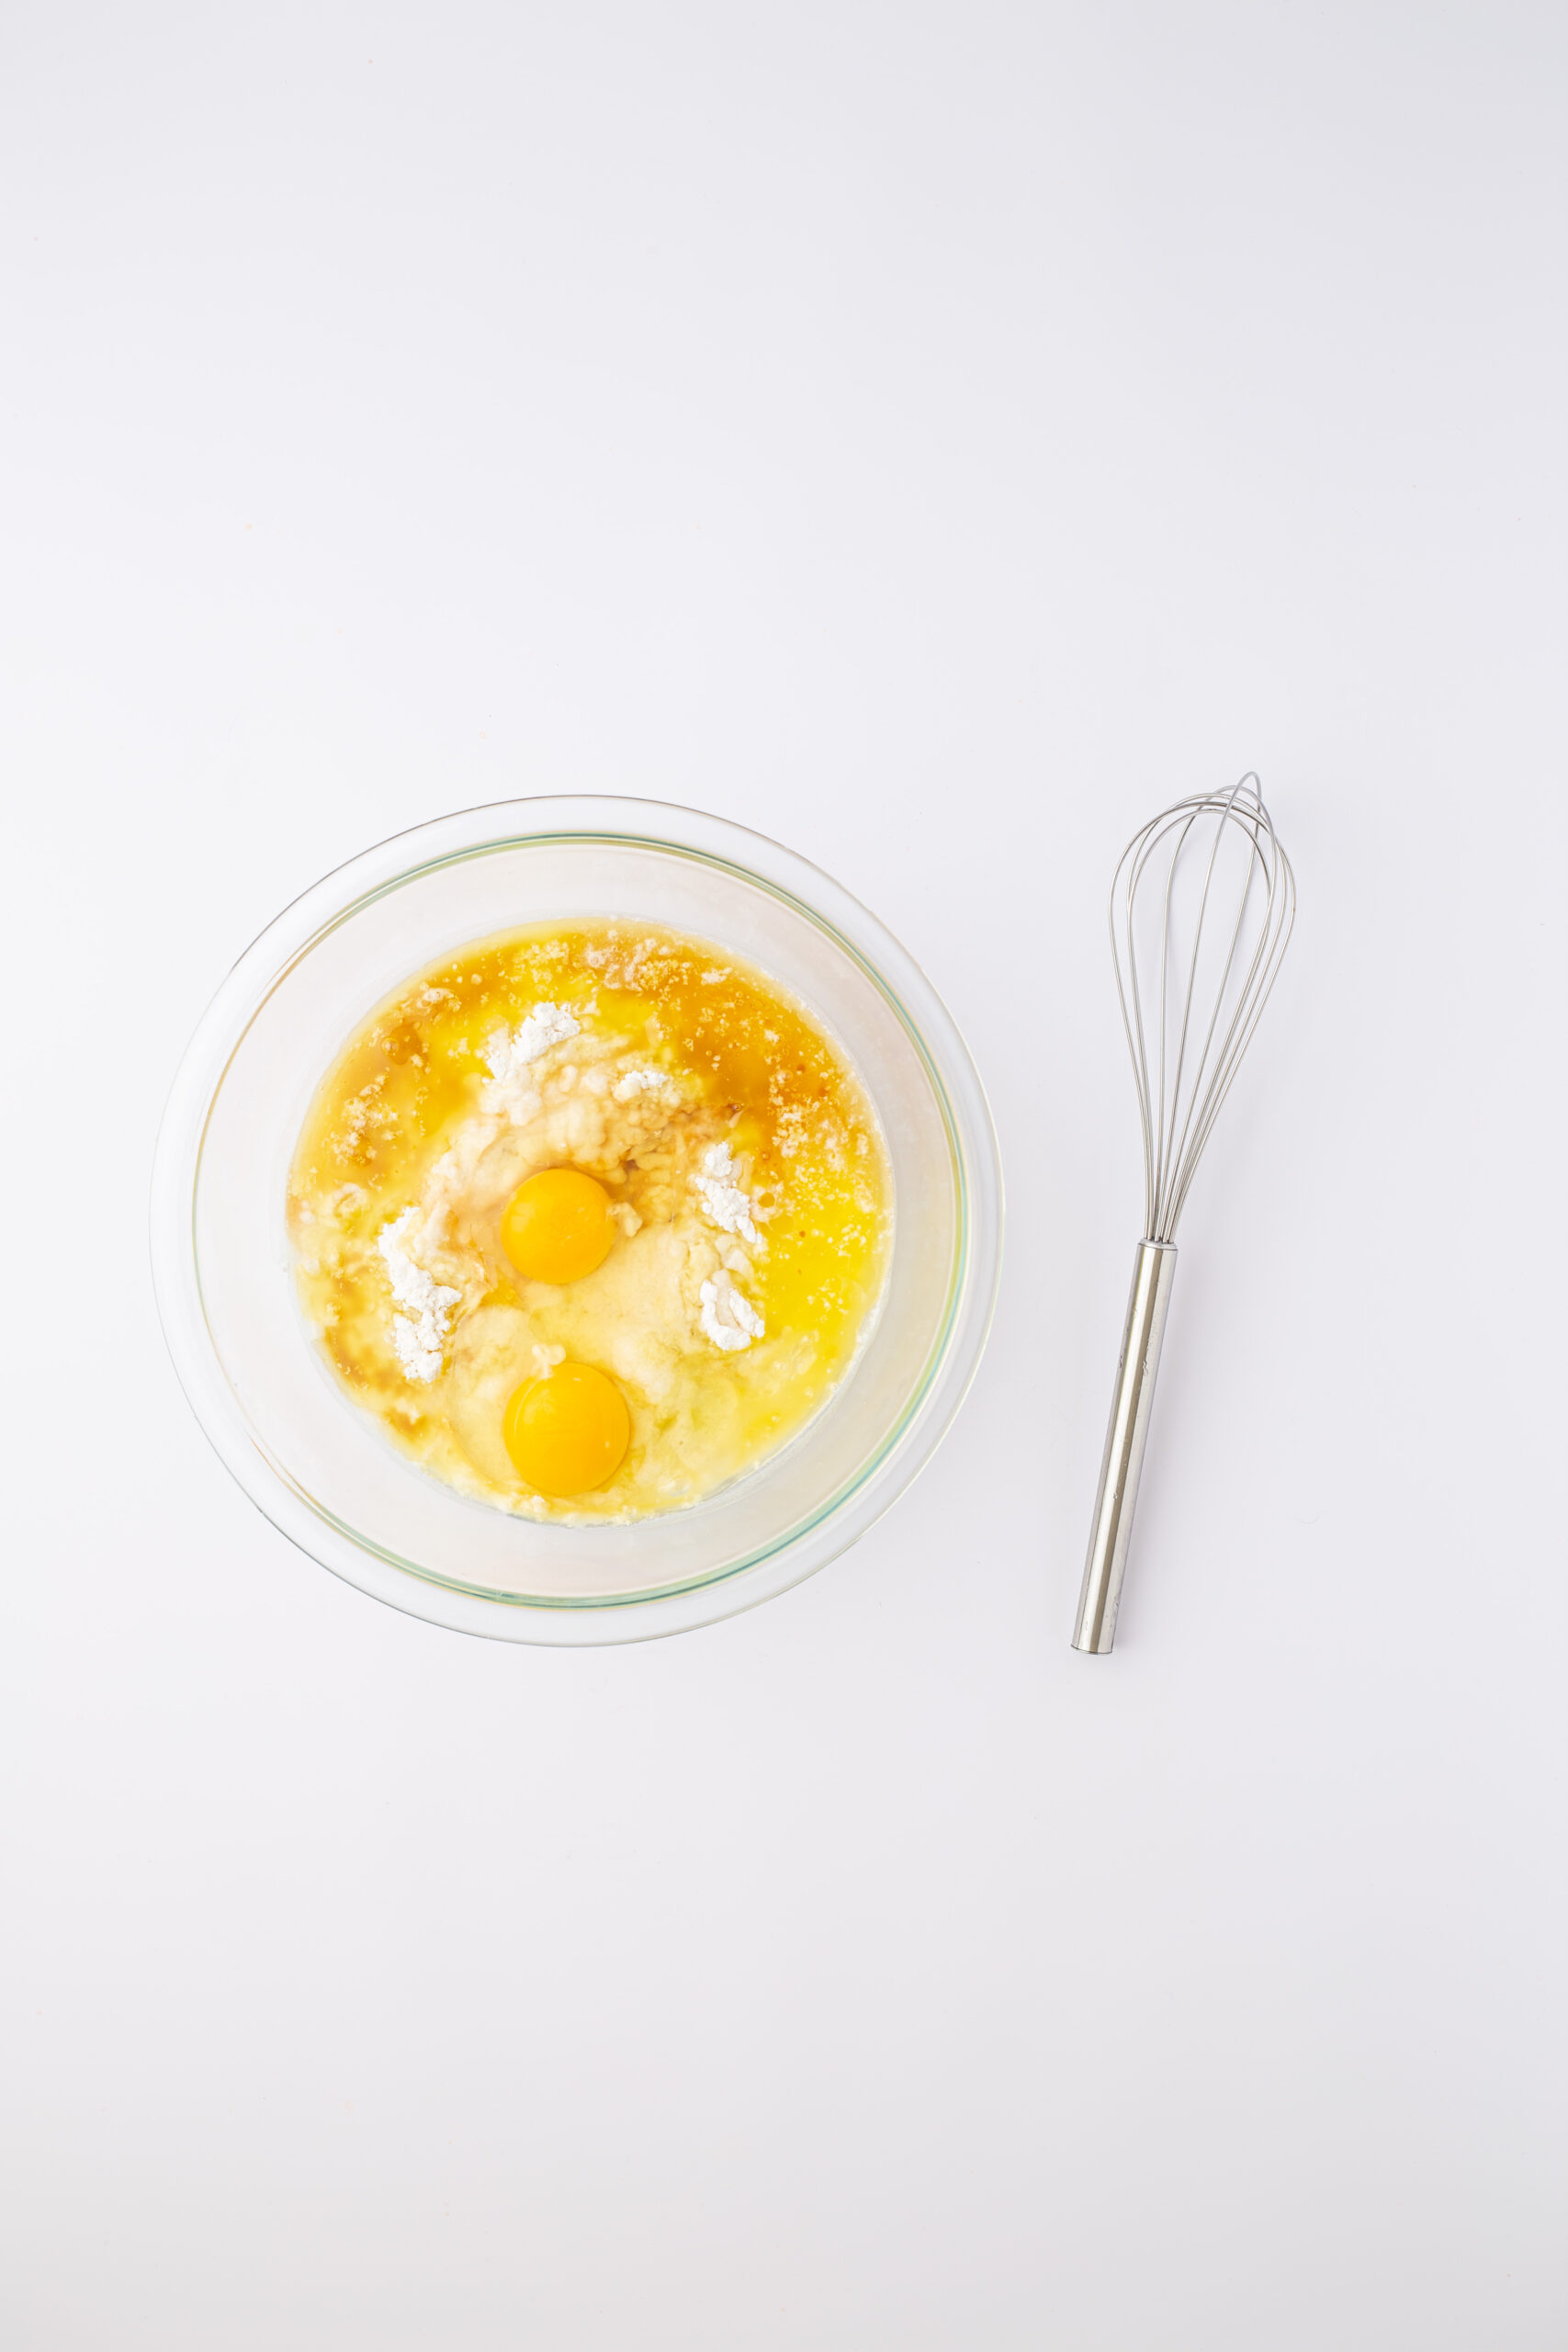
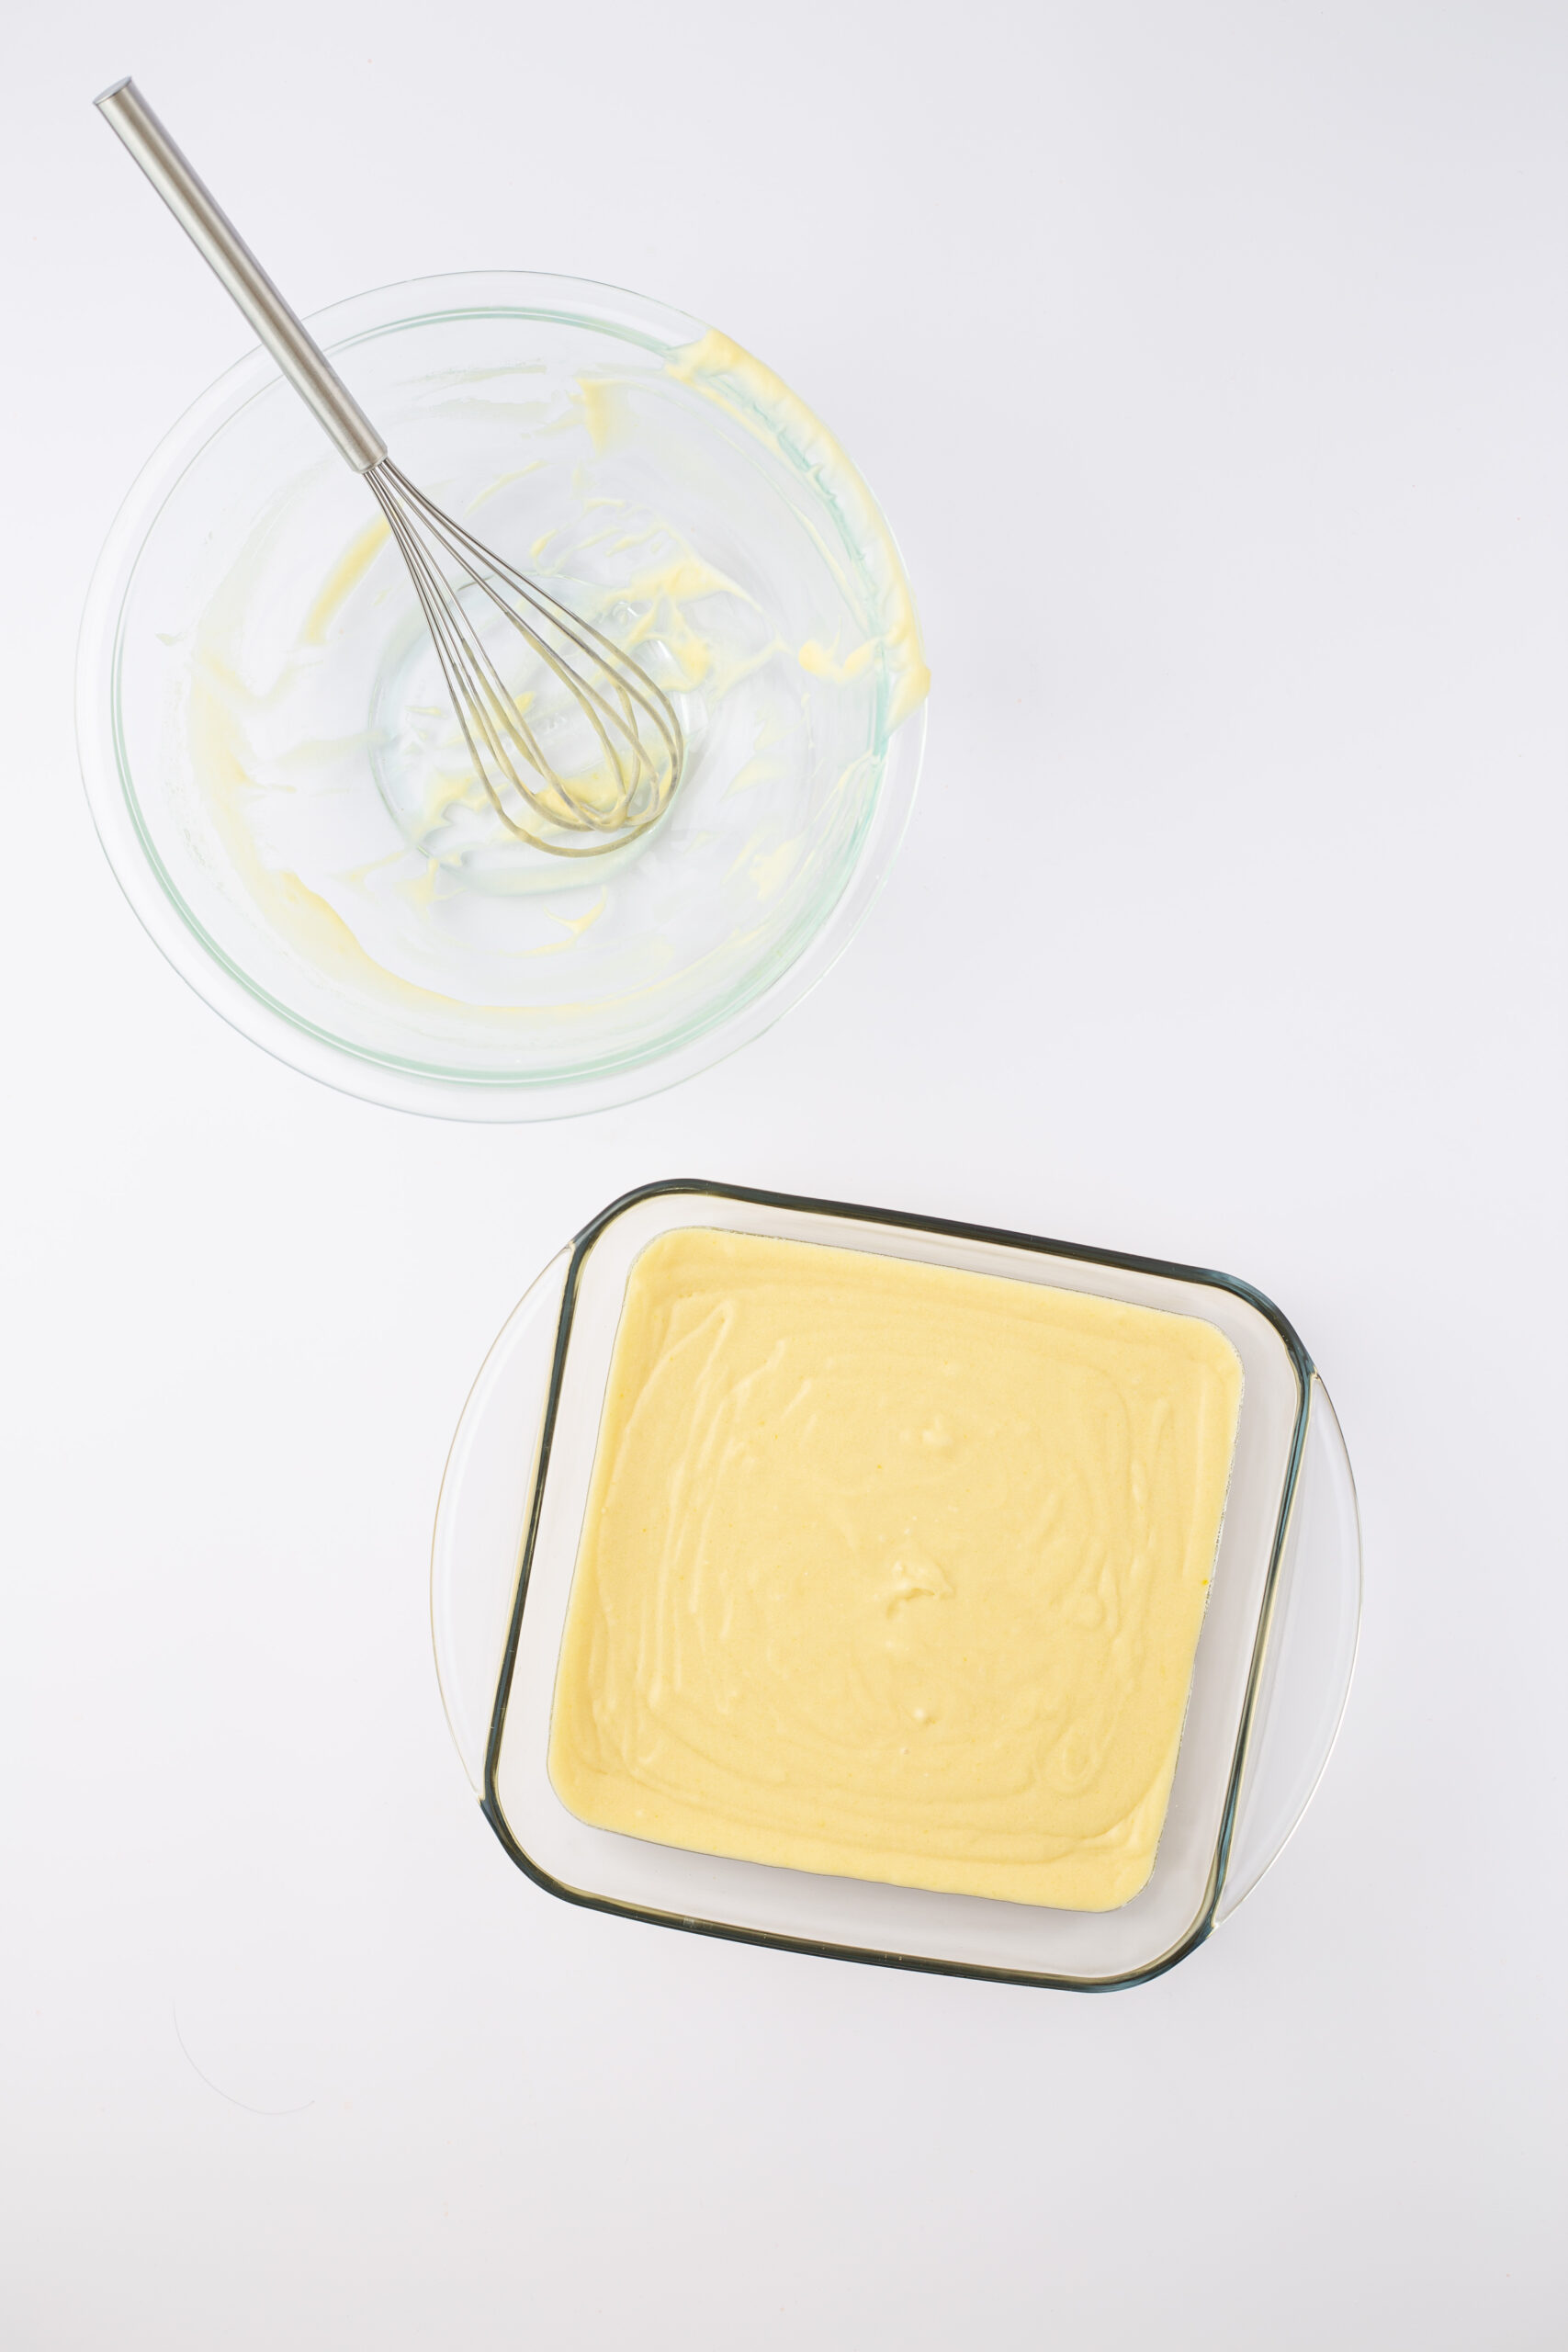
In a large mixing bowl, prepare the cake mix as directed on the box with the eggs, butter, water, and vanilla extract. Mix until there are no more lumps.
Pour the batter into the baking pan and bake as directed on the package, until golden and a toothpick inserted in the center comes out clean.
Once it is done baking, remove from the oven and let cool on a wire rack for 10 minutes.
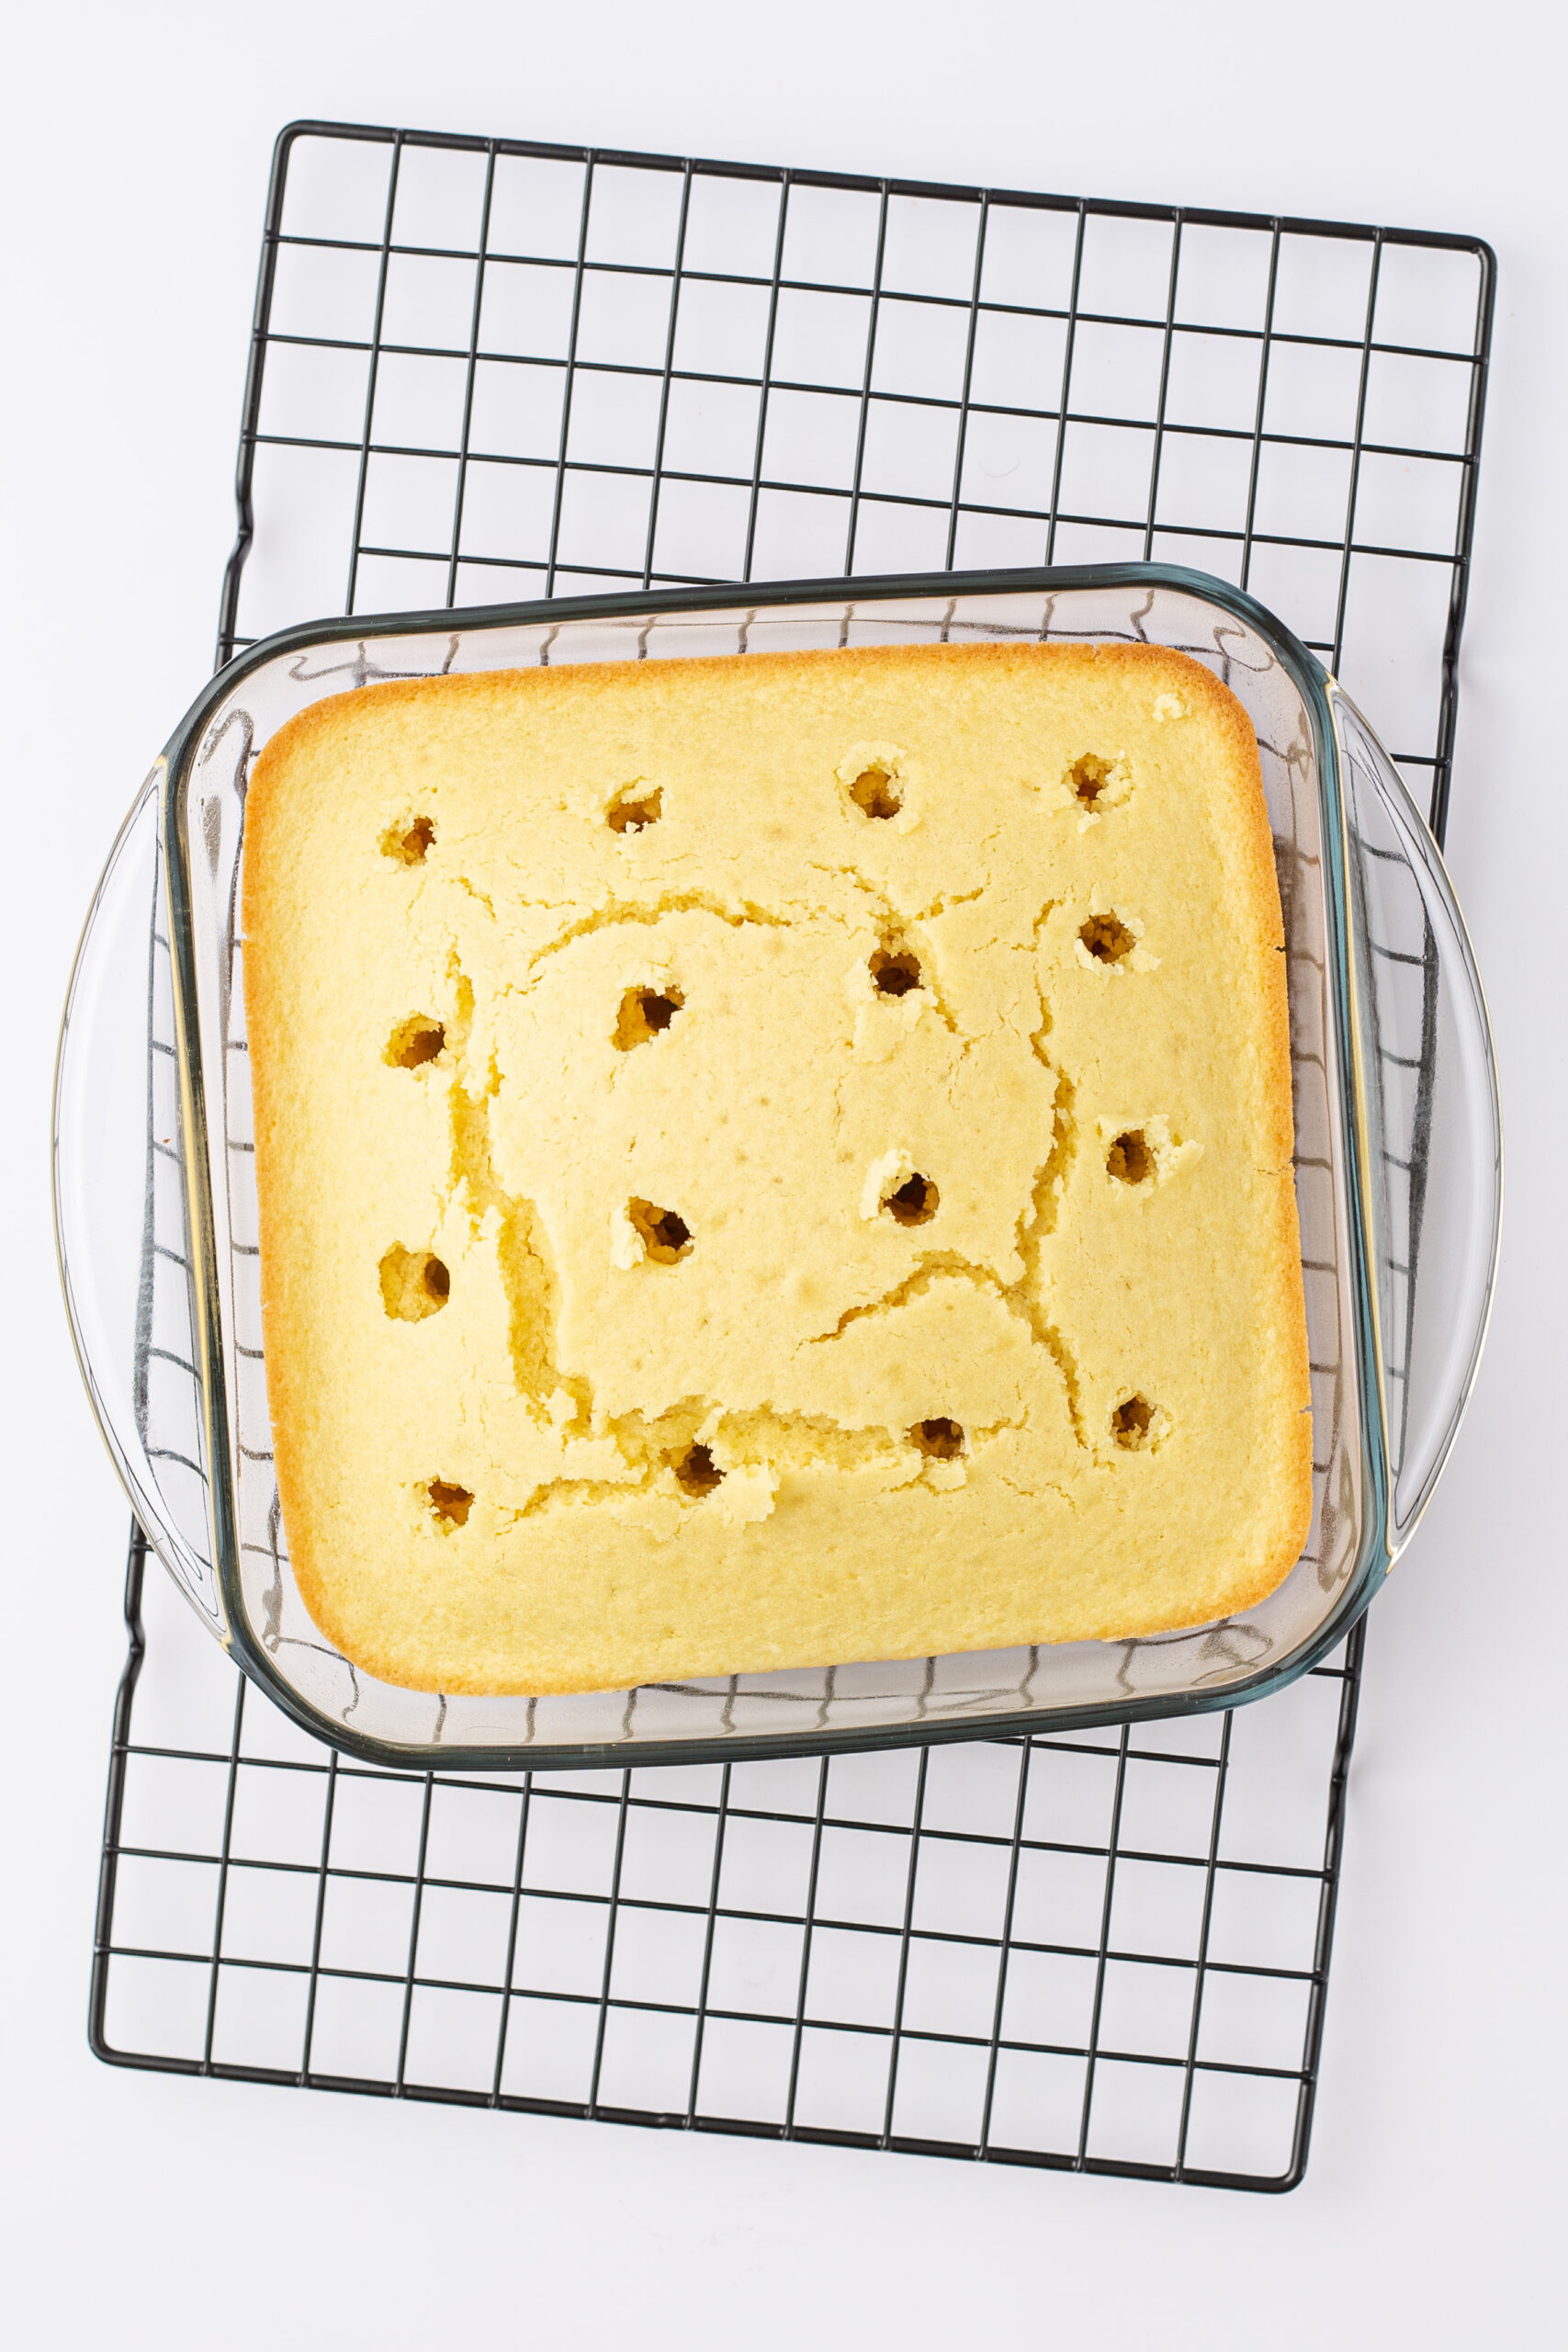
Then use the end of a wooden spoon to poke holes in the cake, spaced out about 1.5 inches apart. Make sure not to poke too deep as you don’t want the cake to fall apart when cutting.
Now prepare the banana cream pudding as per directions on a box with cold milk. Mix until just before it begins to thicken then pour half the mixture over the cake and fill the holes. (You don’t want to wait until it is too thick and won’t fill the holes properly.)
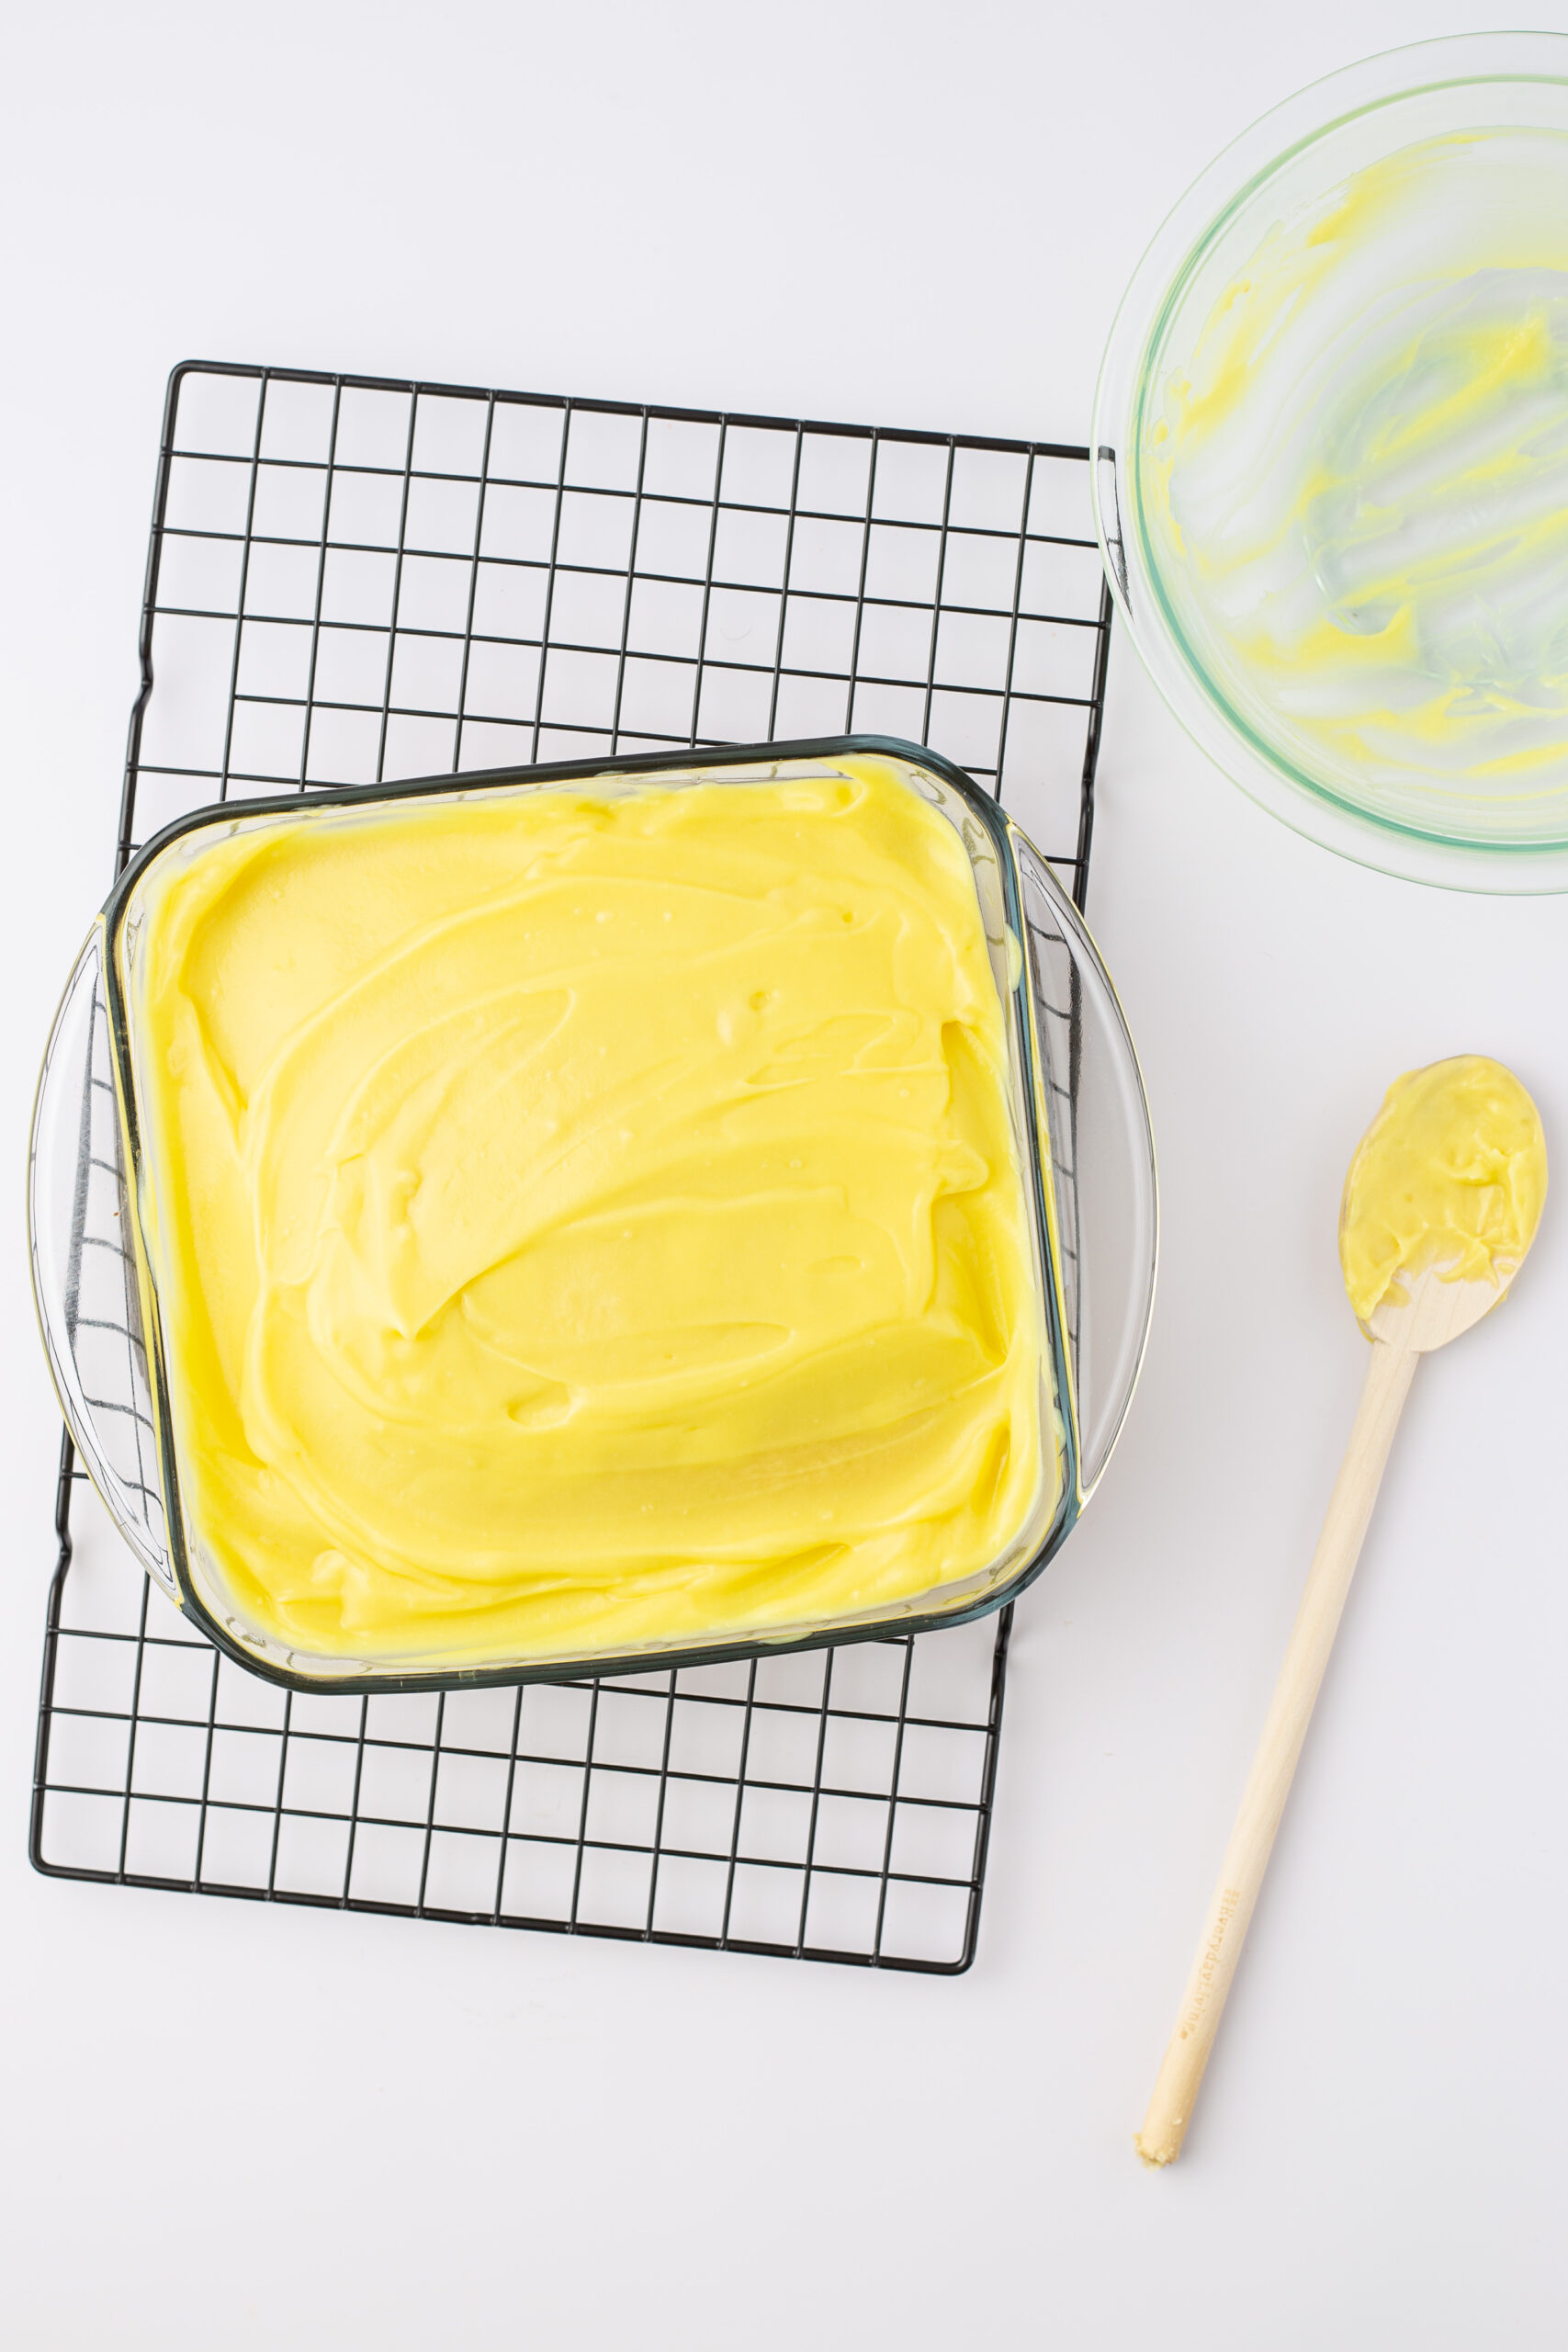
Let the remaining pudding mixture stand until thickened, about 5 minutes. Then spread over the top of the cake.
Refrigerate for 30 minutes before adding the whipped topping.
Remove from the fridge then add the whipped topping and spread evenly across. Don’t press too hard and don’t mix into the pudding.
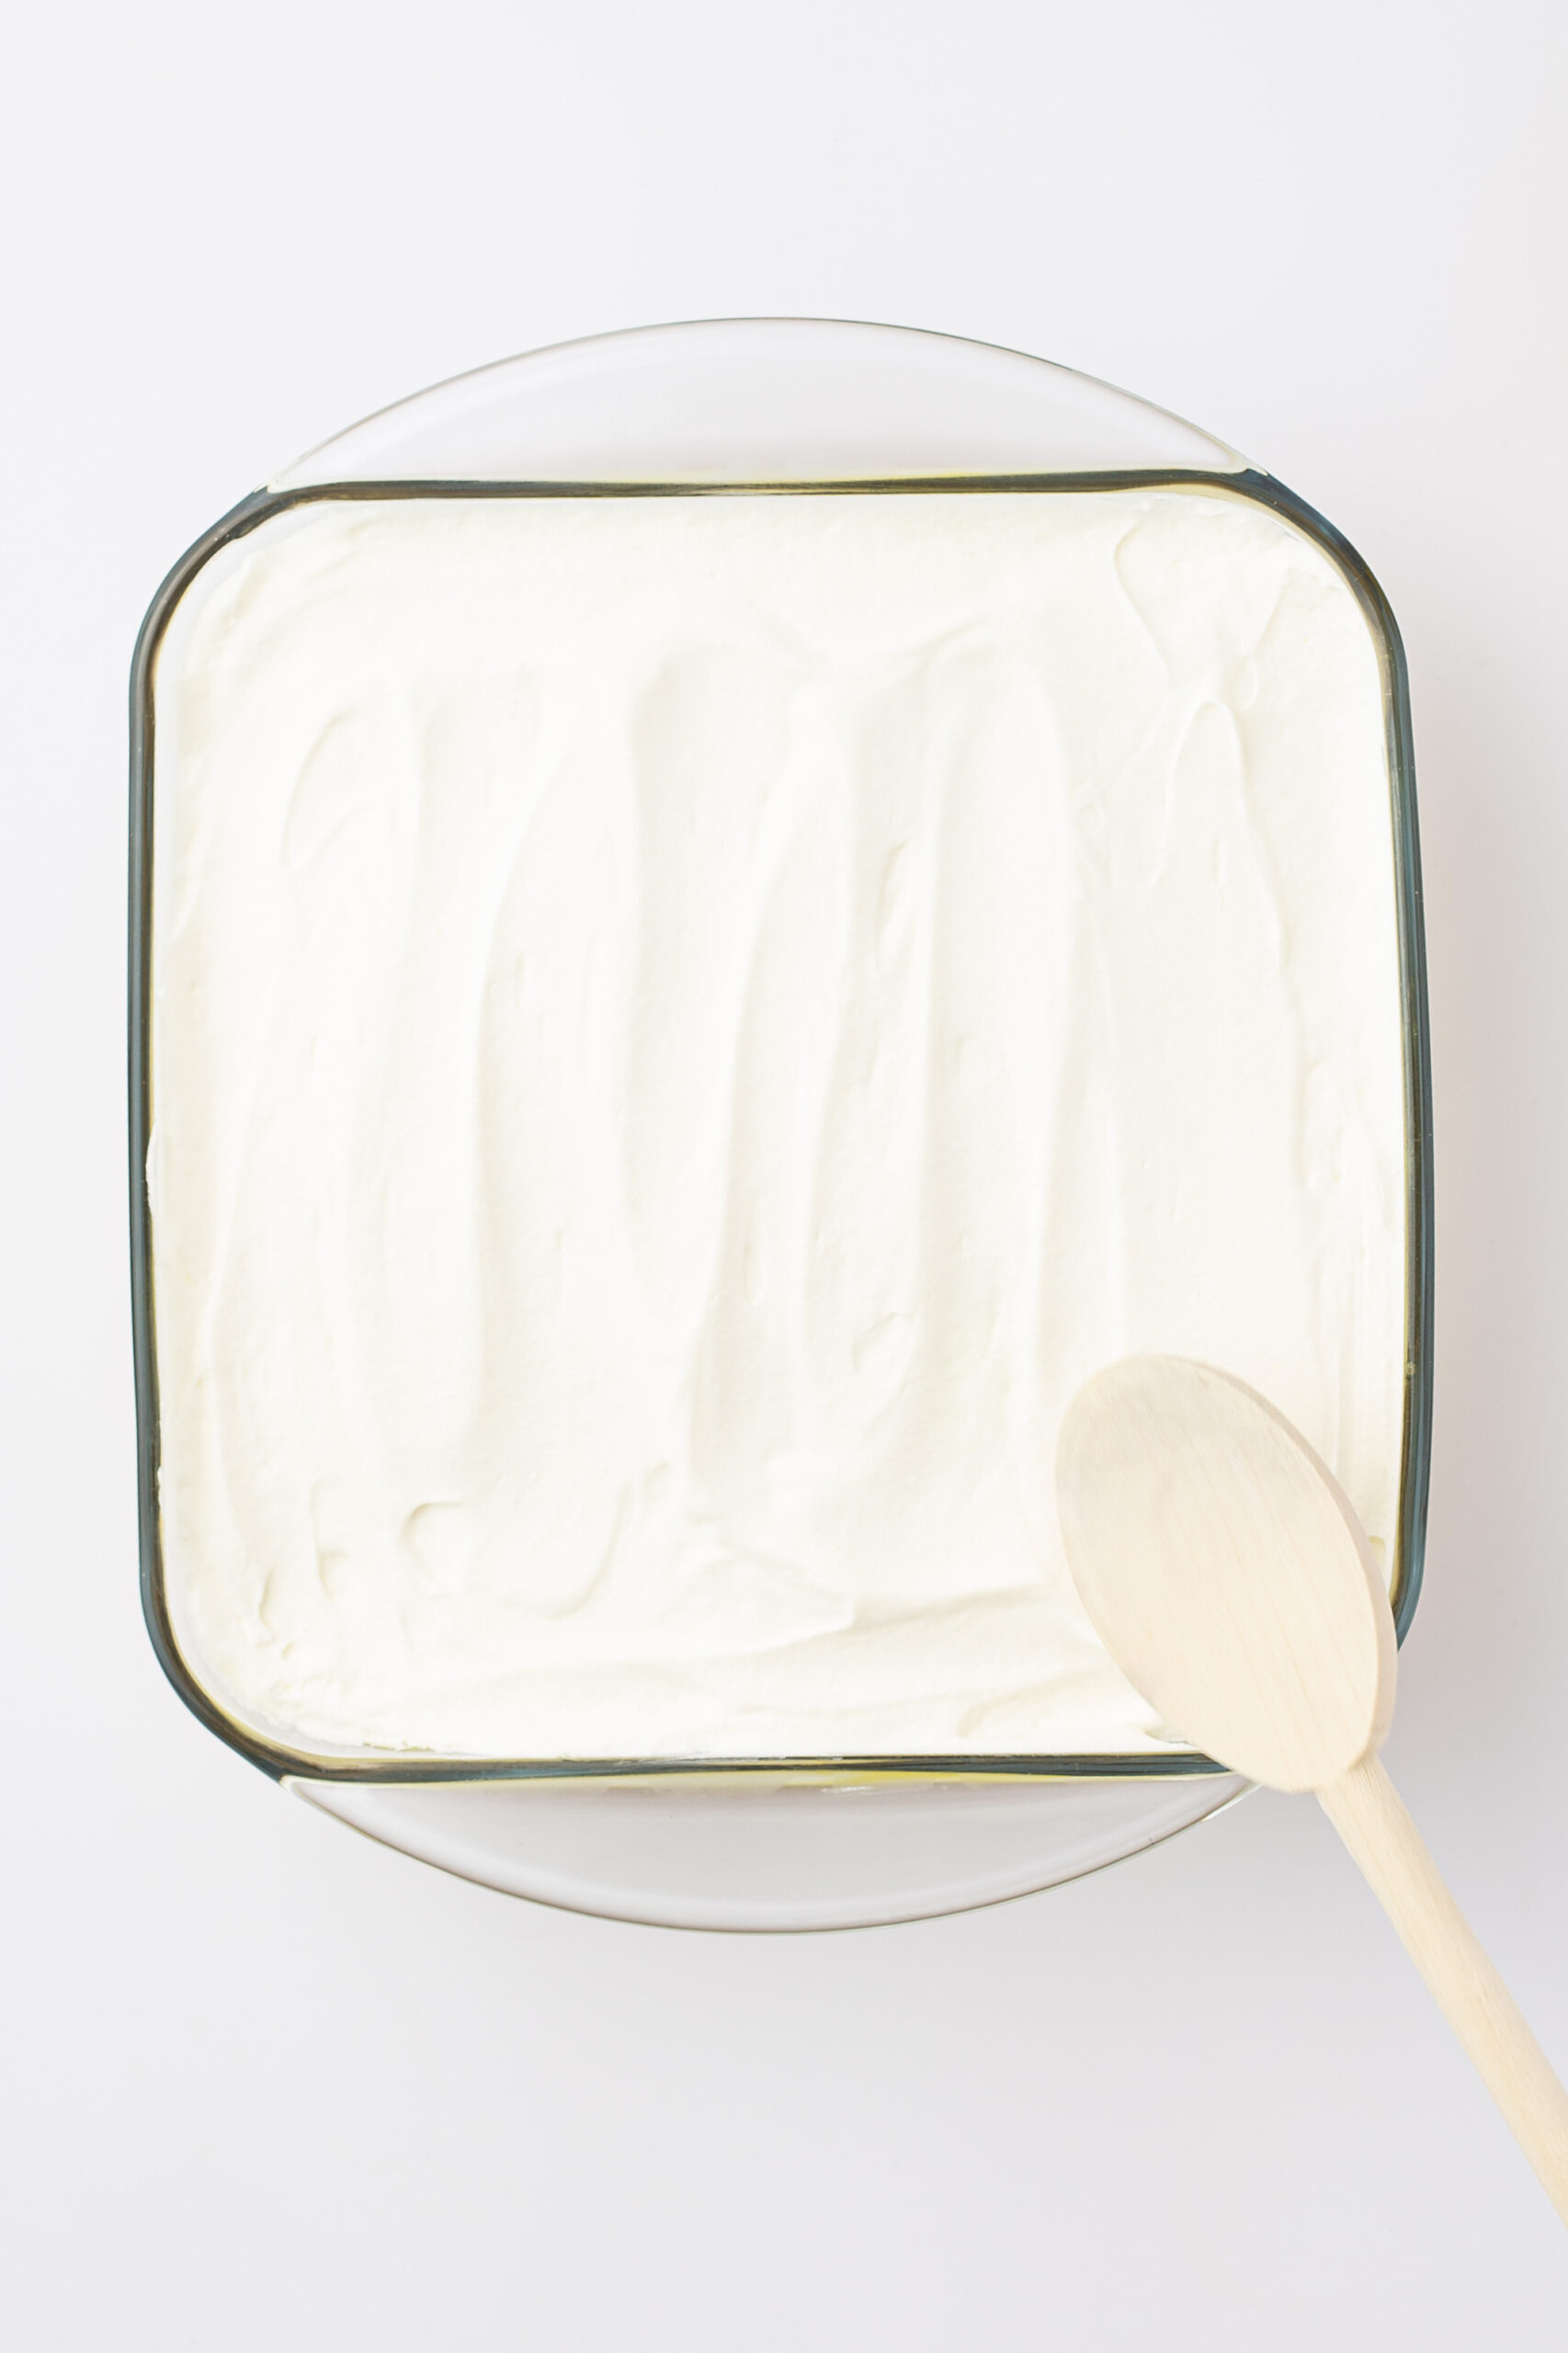
Place in the fridge for another 2 hours.
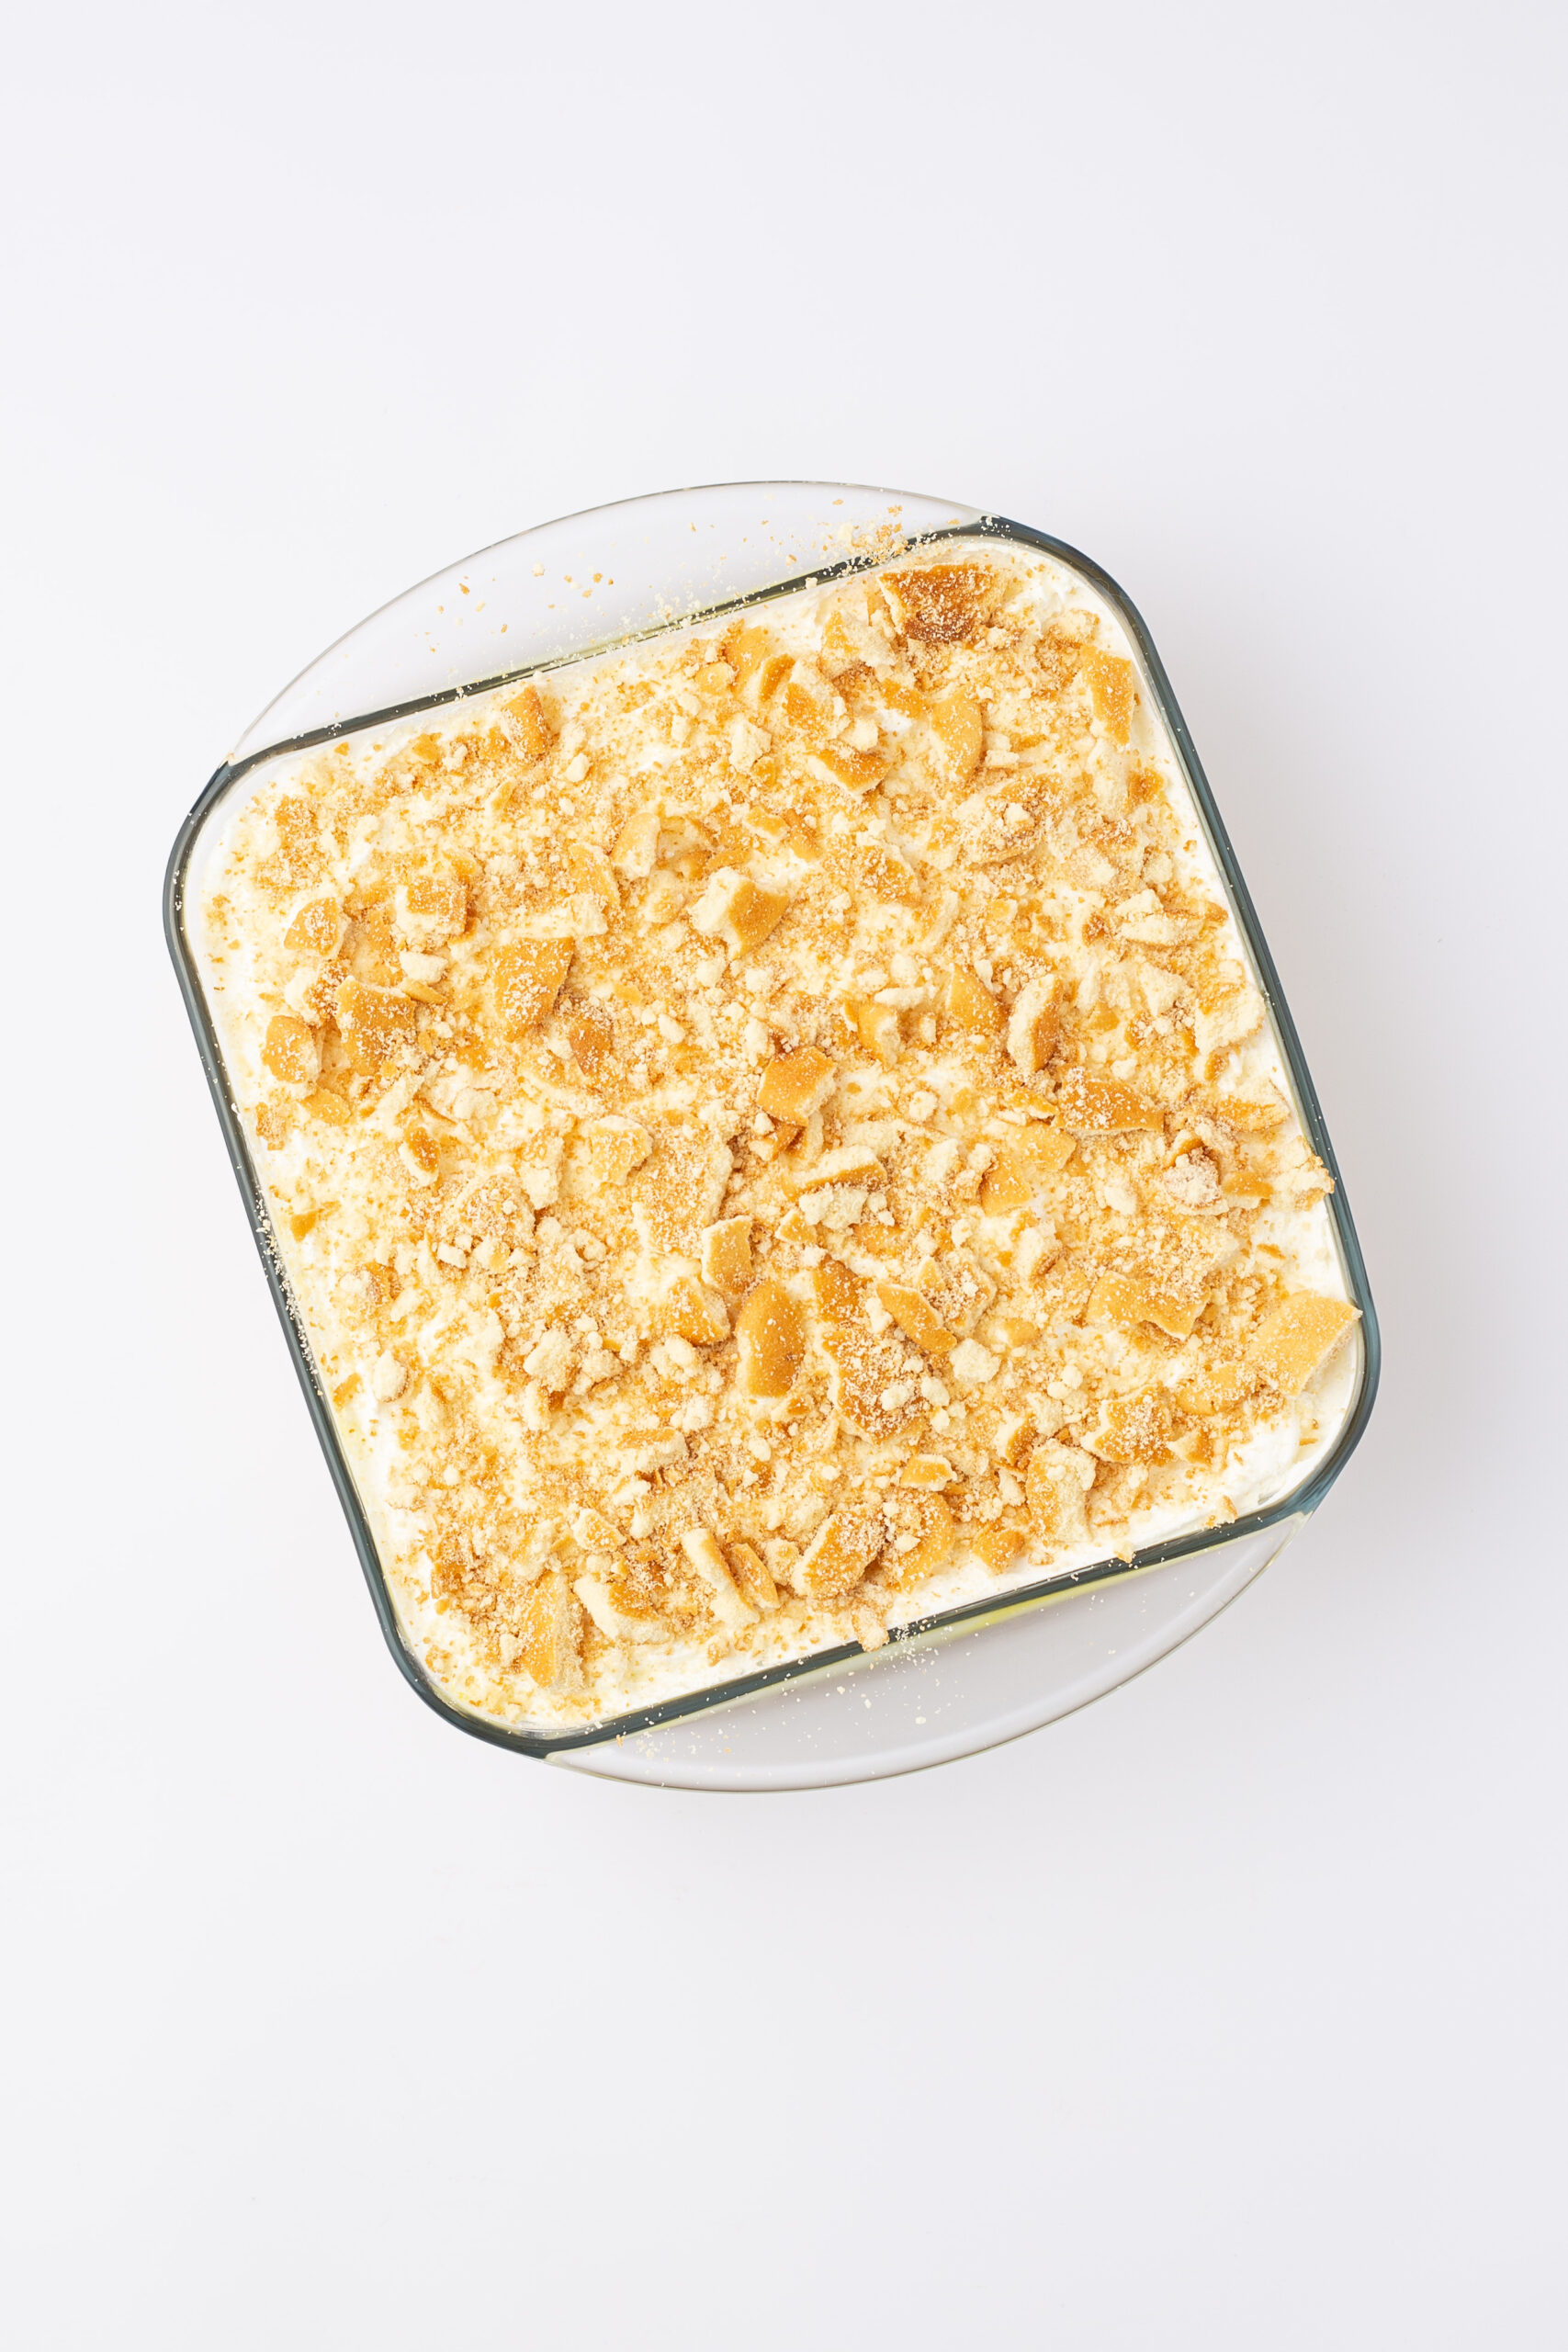
When you’re ready to serve, crush about 1 cup of gluten free vanilla wafers and sprinkle on the top. Serve and enjoy!
Looking for more delicious desserts to try?
Here are some other delicious dessert recipes that we think you will enjoy. There’s something for everyone on this list from chocolate lovers to cheesecake, and more! Don’t miss out, give them all a taste test and see which ones are the best.
- The Easiest Healthy Banana Pudding
- 45 Must Try Recipes Made From Cake Mix
- Chocolate Peanut Butter Banana Ice Cream
- Weight Watchers Cherry Cheesecake Bites
- Orange Fluff Dessert | Weight Watchers Fluff
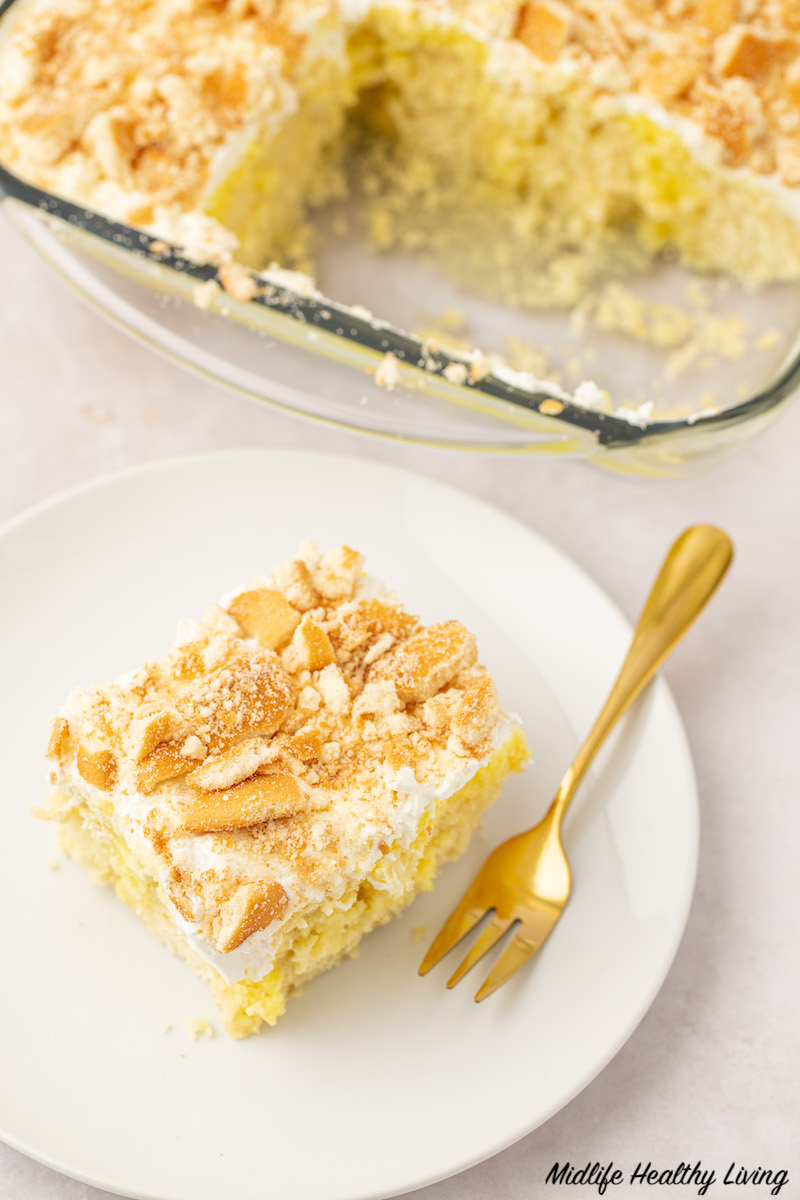
Printable Gluten Free Banana Poke Cake Recipe:
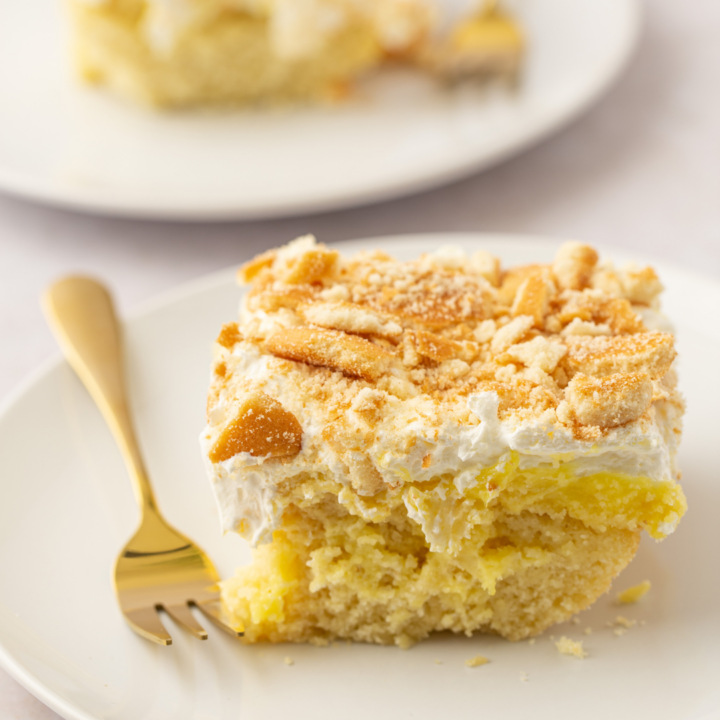
Gluten Free Banana Poke Cake
Calling all banana pudding lovers! This delicious gluten fee banana poke cake is perfect for sharing, everyone can enjoy this indulgent treat.
Ingredients
- Gluten free Betty Crocker Cake Mix (plus ingredients stated on box: eggs, butter, water, vanilla extract)
- 1 cup gluten free vanilla wafers, crushed
- 8 oz Lite Cool Whip, thawed
- 3 oz box of Banana Cream instant pudding (plus ingredients stated on box: 2 cups of cold milk)
Instructions
- Preheat the oven to 350 F and spray the bottom of a 9x9 baking pan with cooking spray and set aside.
- In a large mixing bowl, prepare the cake mix as directed on the box with the eggs, butter, water, and vanilla extract. Mix until there are no more lumps.
- Pour the batter into the baking pan and bake as directed on the package, until golden and a toothpick inserted in the center comes out clean.
- Once it is done baking, remove from the oven and let cool on a wire rack for 10 minutes.
- Then use the end of a wooden spoon to poke holes in the cake, spaced out about 1.5 inches apart. Make sure not to poke too deep as you don’t want the cake to fall apart when cutting.
- Now prepare the banana cream pudding as per directions on a box with cold milk. Mix until just before it begins to thicken then pour half the mixture over the cake and fill the holes. (You don’t want to wait until it is too thick and won’t fill the holes properly.)
- Let the remaining pudding mixture stand until thickened, about 5 minutes. Then spread over the top of the cake.
- Refrigerate for 30 minutes before adding the whipped topping.
- Remove from the fridge then add the whipped topping and spread evenly across. Don’t press too hard and don’t mix into the pudding.
- Place in the fridge for another 2 hours.
- When you’re ready to serve, crush about 1 cup of gluten free vanilla wafers and sprinkle on the top. Serve and enjoy!
Nutrition Information
Yield 9 Serving Size 1Amount Per Serving Calories 352Total Fat 8gSaturated Fat 5gTrans Fat 0gUnsaturated Fat 2gCholesterol 5mgSodium 524mgCarbohydrates 65gFiber 1gSugar 35gProtein 4g
As with any of our recipes, carb counts, calorie counts, WW points and nutritional information varies greatly. As a result, your nutritional content depends on which products you choose to use when cooking this dish. The auto-calculation is just an automated estimate and should NOT be used for specific dietary needs.
