Grandma’s Sand Tart Cookies
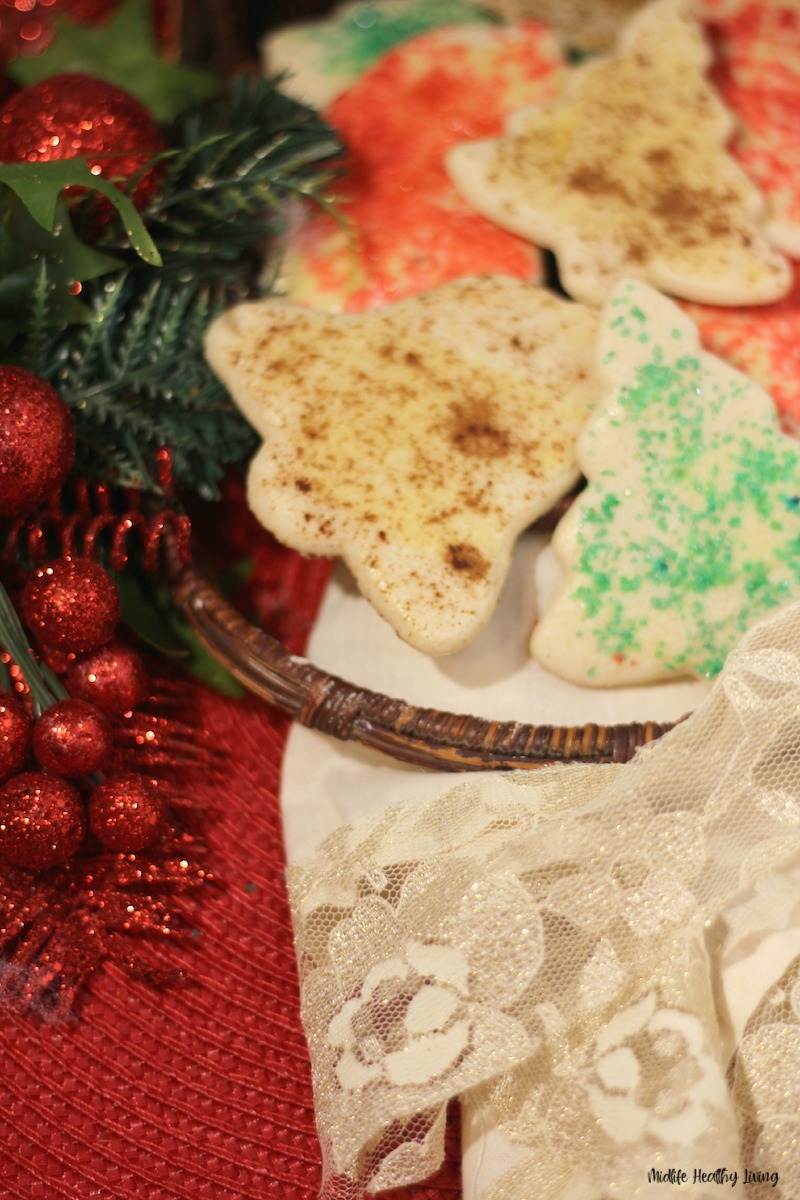
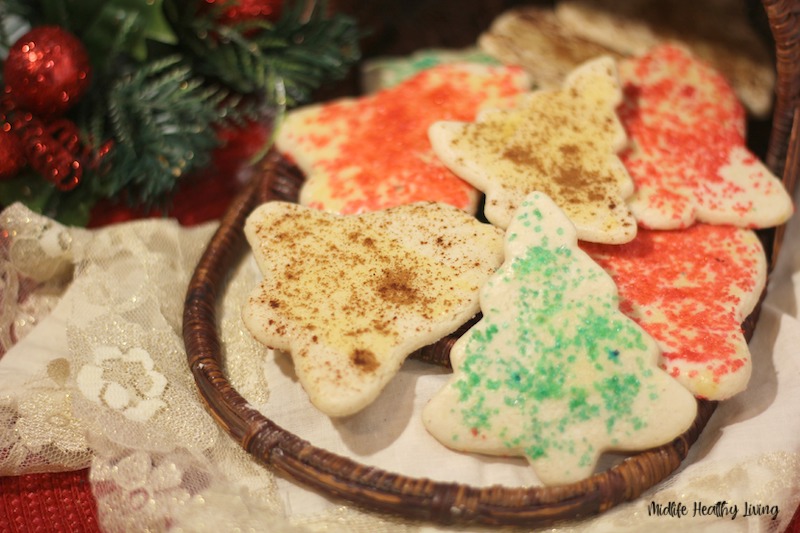
Grandma’s Sand Tart Cookies are a staple in our home during the holidays! They’re the perfect reminder of her and they’re fun to make year round!
Nothing is better during the holidays than an old family recipe. They’re fun to make year round and they have that added benefit of reminding us of our loved ones.
I think most people who love to cook or bake have someone in their past that inspired that love! Whether it was grilling with dad or baking cookies with Grandma it’s never a bad time to bust out those old favorites and whip up a batch.

This recipe post contains affiliate links to products used in the recipe. If you click through and make a purchase we make a commission.
What you’ll need to make these tasty cookies:
My grandma’s sand tart cookies are really simple to make and the dough is perfectly sweet and easy to work with. For this recipe you’ll need some classic kitchen staples that you likely already have on hand if you like to bake.
For sand tart cookies you will need granulated sugar, butter, eggs, milk, baking soda, four, and colored sprinkles.
You can also benefit from an electric mixer, some cookie cutters, and parchment paper, or silicone baking mats! Of course most of those can be swapped out for the good old fashioned elbow grease alternative if you don’t have them in your kitchen accessories collection.
You can find the full amounts and ingredients along with the approximate nutritional information in the printable recipe card at the bottom of the post!
Here are some kitchen essentials that I like to have on hand when making recipes like this:
Making tasty treats is a breeze with these kitchen essentials. Keeping things like this on hand makes my life so much easier in the kitchen.
Some things that are great to have on hand when prepping recipes like this is a cutting board, sharp knives, and storage containers.
You can also benefit from baking pans, a kitchen scale, measuring cups, and these mixing bowls!!
How to make the best sand tart cookies:
Making these sand tart cookies is actually a lot easier than you might think! Check out the simple step by step process below to see for yourself.
Making a classic cookie recipe this year doesn’t have to be super difficult These grandma’s sand tart cookies are perfect for kids to help with as well. There’s tons of fun to be had while rolling the dough, cutting out the shapes, and decorating them with sugar and cinnamon!
Cream the sugar and butter using the electric mixer.
Add eggs and milk, mix well
In another bowl mix the baking soda and flour.
SLOWLY add this mixture to the wet ingredients. You will need to mix this until it is smooth and creamy.
Separate finished dough into three pieces, form them into balls.
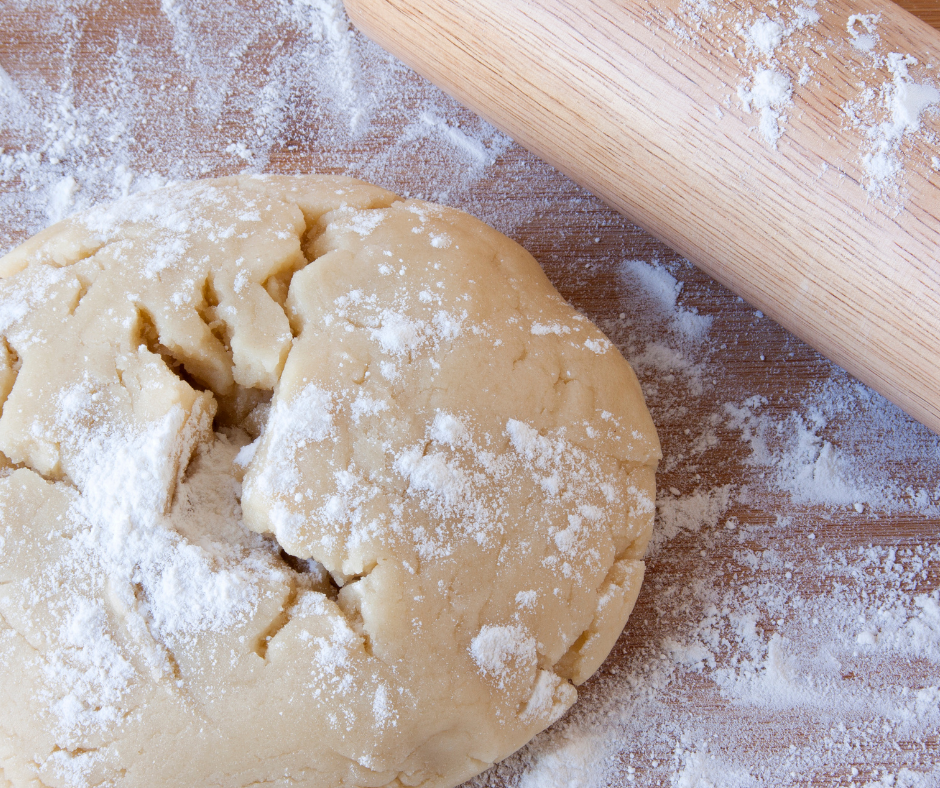
Wrap each ball tightly in plastic wrap to refrigerate overnight.
Set dough out to thaw for a few hours prior to rolling it
Flour the counter top or table where you will be rolling the cookies (add flour as necessary to avoid cookies sticking)
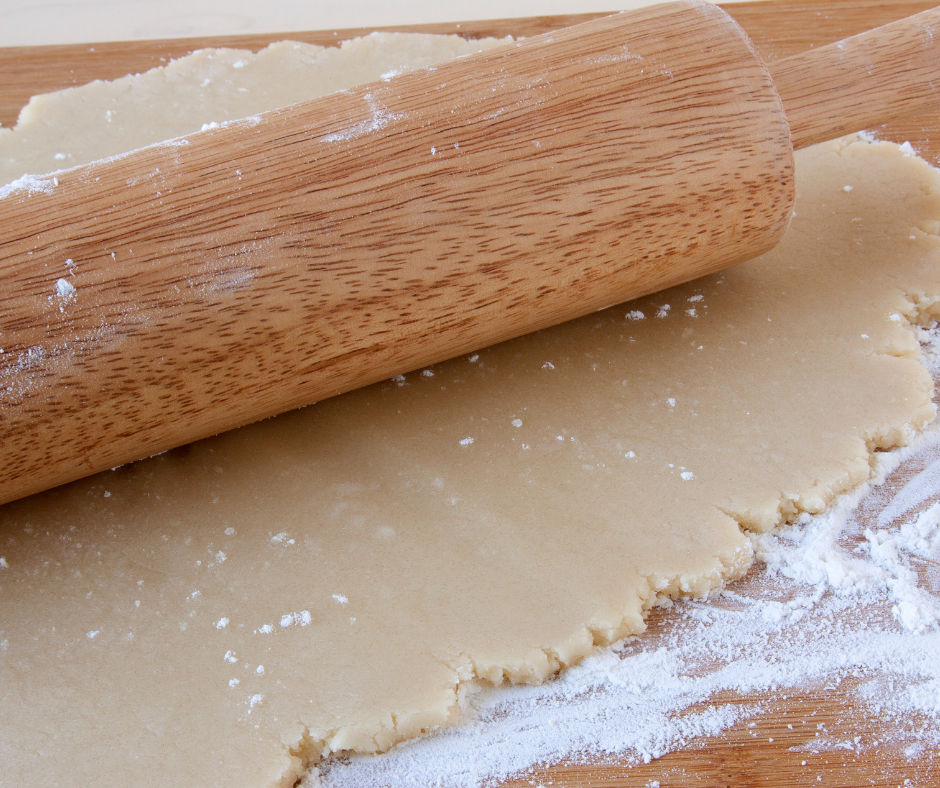
Roll each dough ball out thin
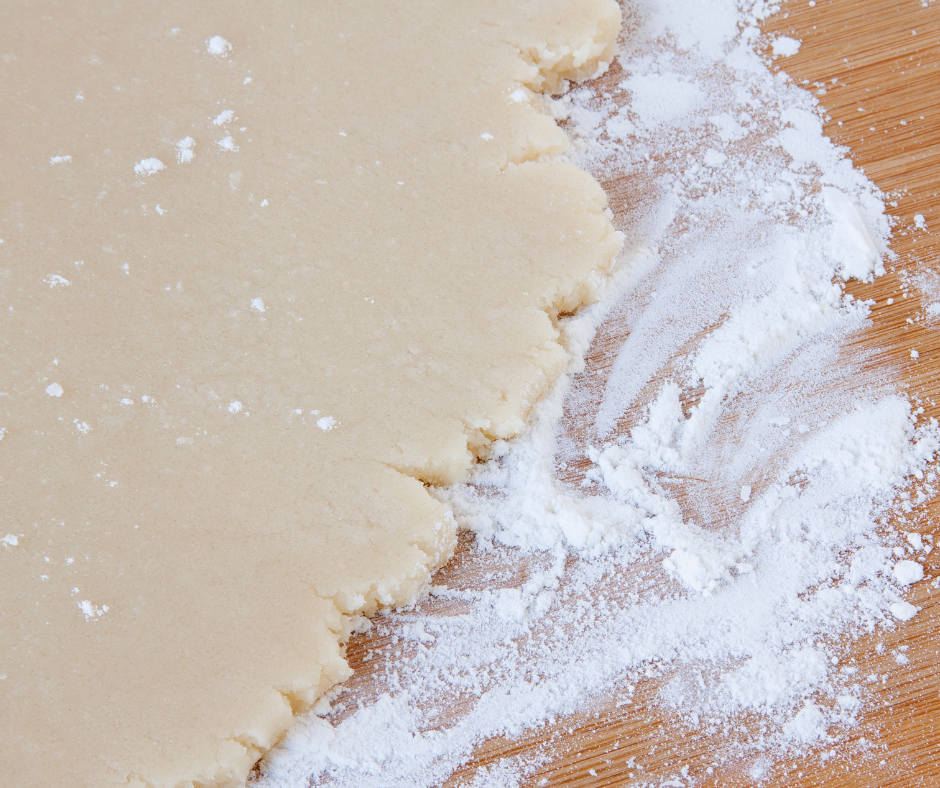
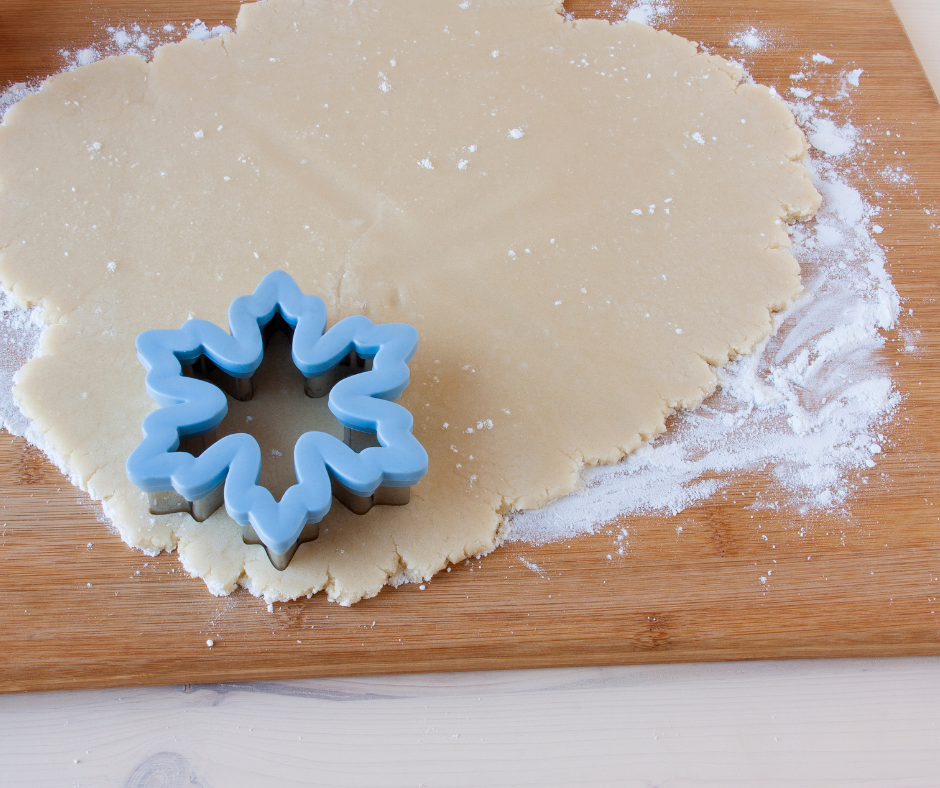
Using selected cookie cutters you are now ready to cut!
Cut them as close together as possible.
Place on baking sheets (line with parchment to avoid sticking)
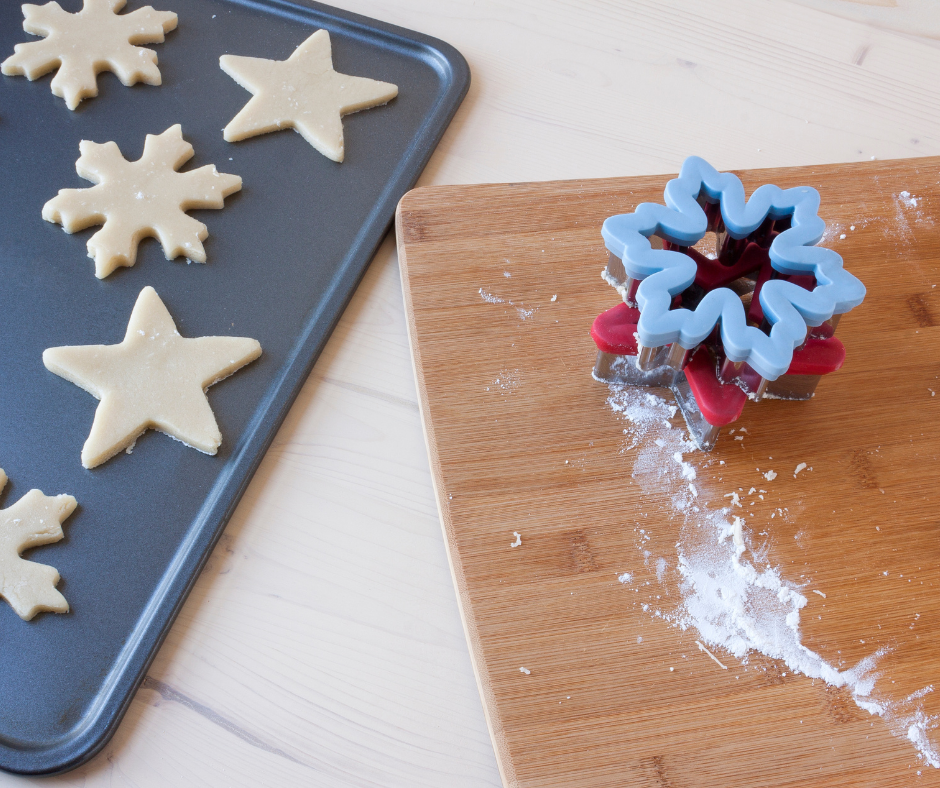
Decorate cookies with sugar and other toppings
Bake at 350 degrees for 6-8 minutes
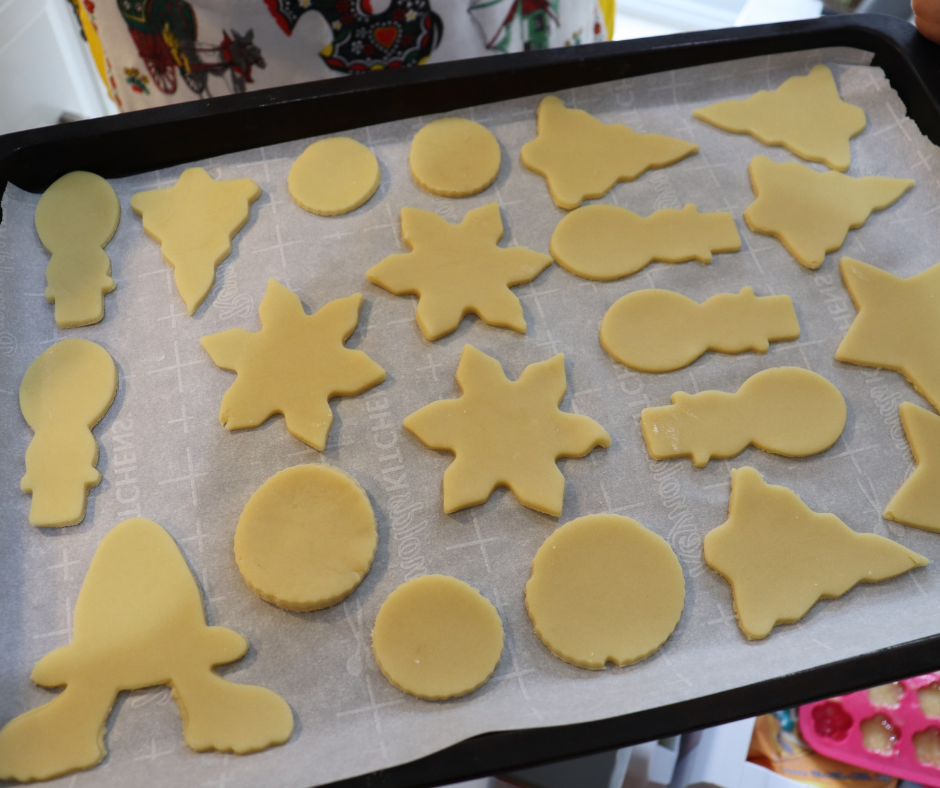
Remove sheets from oven and allow to cool completely!
Enjoy! (Store leftovers for up to several weeks in the freezer)
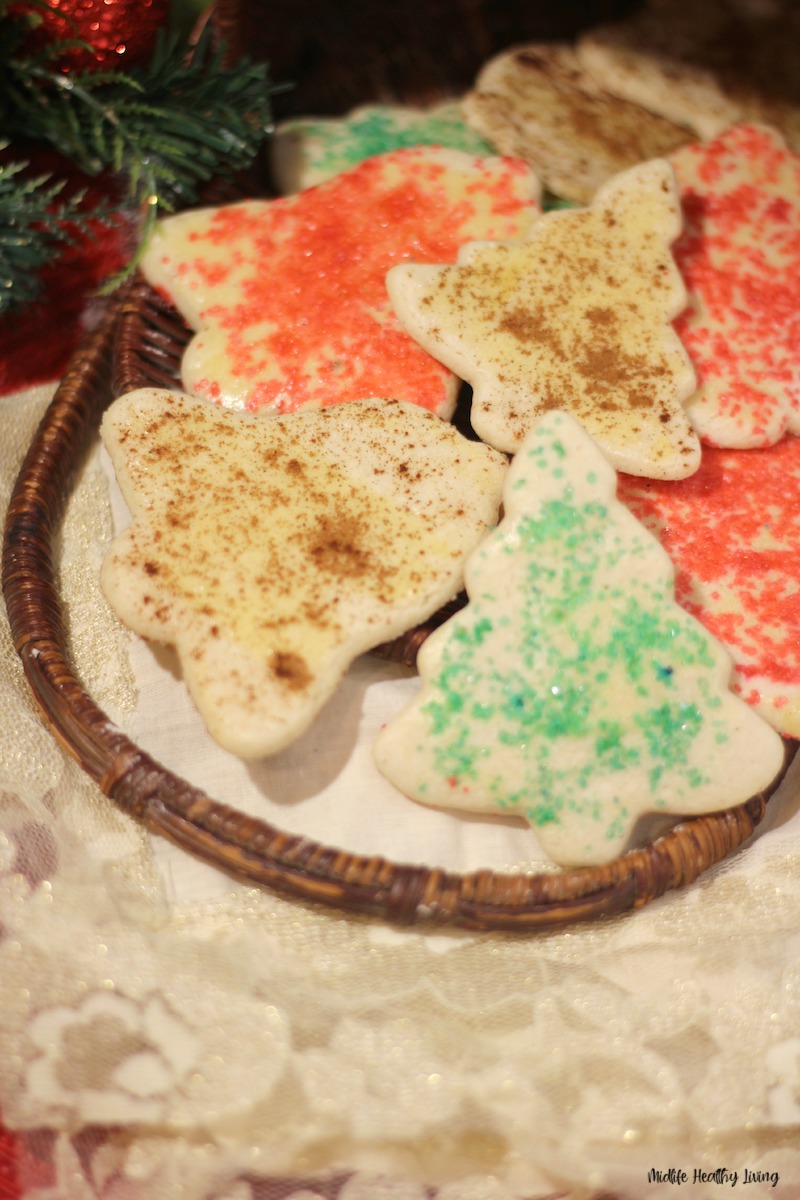
Did you say I can freeze these cookies?
You can absolutely freeze these cookies. You can actually freeze most cookies! They’ll be great in an airtight container for a few months in the freezer.
Pull them out when you are ready to use some and they’ll thaw out nicely. It’s a really nice way to have a prepared treat on hand for when life is busy and you want something special but don’t have time to prep anything.
Do I have to refrigerate the dough before rolling and cutting the cookies?
Definitely do not skip this step. The cooling time and wrapping the dough helps to let it develop properly and it makes it 100x easier to work with.
If you skip this step you’ll find that the dough doesn’t really allow you to roll it out without it being super sticky and messy. You also won’t be able to handle the cookies once they’re cut with the cookie cutters.
Give it the overnight chill session in the refrigerator for the best results and perfect grandma’s sand tart cookies! It’s hard to wait, I know, but it’s worth it for the ease of working with the dough and the perfectly delicious treats that will be ready in no time after you let the dough chill.
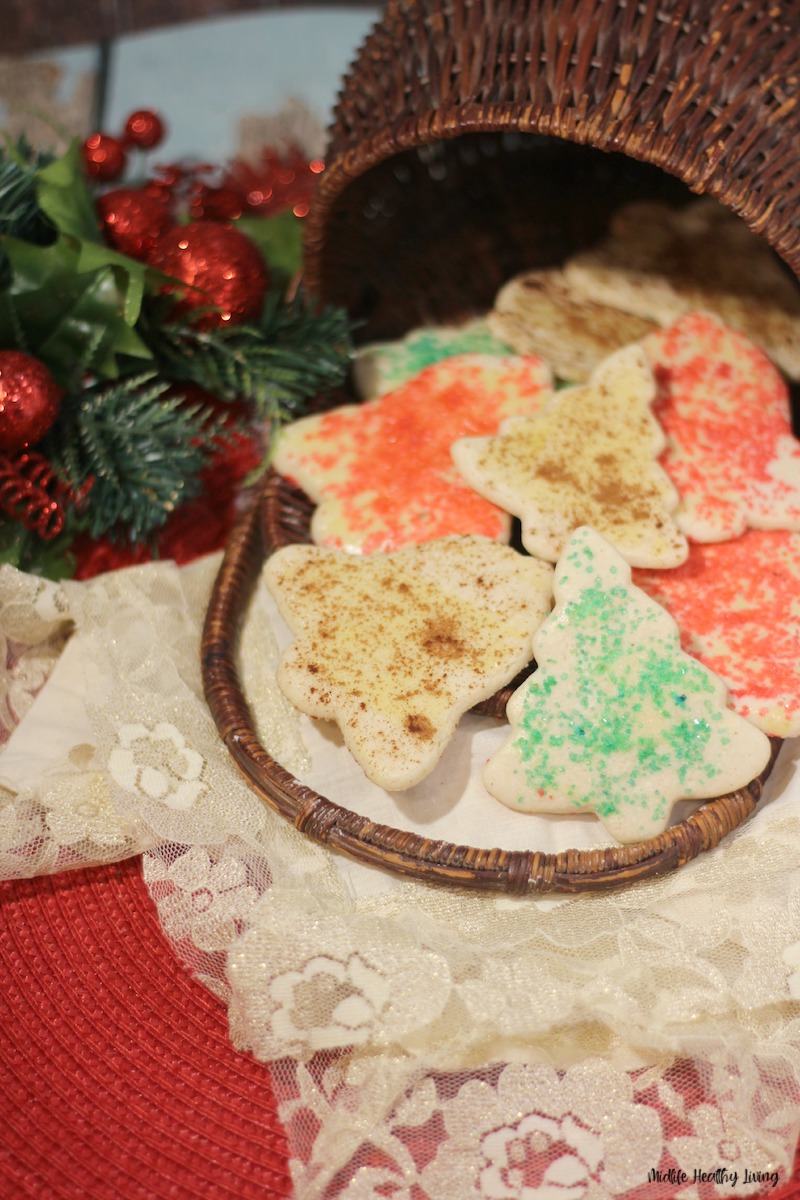
Looking for more delicious cookie recipes to make during the holidays?
If you need some other cookie recipes to go along with my Grandma’s sand tart cookies you won’t want to miss out on this list of delicious treats.
When prepare holiday cookie platters, treats to share with family, friends, or coworkers, etc. you’ll want lots of options. We’ve got you covered with all these tasty cookies you can make for the holidays or year round! You should probably also try this super simple 2 ingredient fudge to really make your cookie platters stand out!
Try out some of these holiday cookies, Weight Watchers choices, and even no bake cookies. They’re all perfect for sharing during the holidays.
- Banana Cookies Recipe
- Weight Watchers PB2 Cookies
- Weight Watchers Chocolate Chip Cookies
- Weight Watchers Gingerbread Cookies Recipe
- No Bake Chocolate Peppermint Cookies Recipe
- Cherry Chip Cake Mix Cookies with Sprinkles
- Snickerdoodle Cookies
- Chocolate Peanut Butter No Bake Cookies
- 3 Ingredient Breakfast Cookie Recipe
Printable Recipe For Classic Sand Tart Cookies:
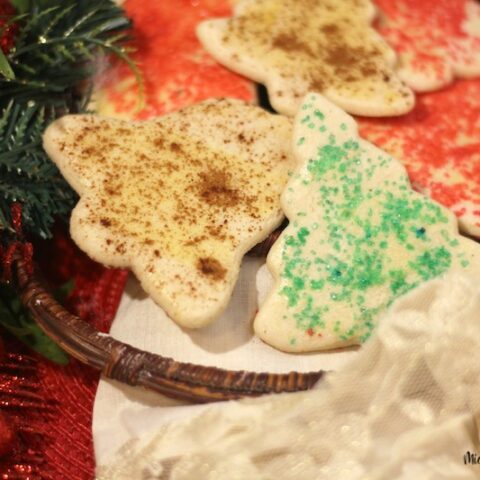
Grandma's Sand Tart Cookies
Grandma's Sand Tart Cookies are a staple in our home during the holidays! They're the perfect reminder of her and they're fun to make year round!
Ingredients
- 2 cups granulated sugar
- 1 cup (2 sticks) butter, softened
- 3 eggs
- 1 Tbsp milk
- 1 tsp baking soda
- 4 – 4½ cups flour
- Colored sugar sprinkles and cinnamon/sugar for decorating cookies
- Electric Mixer
- Cookie Cutters
- Parchment Paper
Instructions
- Cream the sugar and butter using the electric mixer.
- Add eggs and milk, mix well
- In another bowl mix the baking soda and flour.
SLOWLY add this mixture to the wet ingredients. You will need to mix this until it is smooth and creamy. - Separate finished dough into three pieces, form them into balls.
- Wrap each ball tightly in plastic wrap to refrigerate overnight.
- Set dough out to thaw for a few hours prior to rolling it
- Flour the counter top or table where you will be rolling the cookies (add flour as necessary to avoid cookies sticking)
- Roll each dough ball out thin
- Using selected cookie cutters you are now ready to cut!
- Cut them as close together as possible.
- Place on baking sheets (line with parchment to avoid sticking)
- Decorate cookies with sugar and other toppings
- Bake at 350 degrees for 6-8 minutes
- Remove sheets from oven and allow to cool completely!
- Enjoy! (Store leftovers for up to several weeks in the freezer)
Nutrition Information
Yield 24 Serving Size 1Amount Per Serving Calories 456Total Fat 2gSaturated Fat 1gTrans Fat 0gUnsaturated Fat 1gCholesterol 23mgSodium 72mgCarbohydrates 98gFiber 3gSugar 24gProtein 11g
As with any of our recipes, carb counts, calorie counts, WW points and nutritional information varies greatly. As a result, your nutritional content depends on which products you choose to use when cooking this dish. The auto-calculation is just an automated estimate and should NOT be used for specific dietary needs.
These are always fun to make in our house! Let us know what your favorite cookie recipes are below in the comments!



I added a teaspoon of vanilla and then this is a 5star recipe! Thank you. Wonderful.
Sounds great. Thanks!
My Grandmother Vera always made these cookies. Recipe is a little different than yours but I’m sure yours are delicious . My son loves Therese cookies as well as most family members. 1 lb. Butter, 4 Cups sugar, 3 eggs cream together, add flour to make soft dough 5-6 Cups. Chill at least 2 hrs. Or overnight. We make ours into manageable portions, as the dough warms it’s hard to manage, put back in fridge. Roll thin and use your favorite cookie cutters. Brush with can milk, sprinkle with cinnamon and add pecan or walnuts or favorite sprinkles. Bake 400, watch as they burn easily, check in 3 – 5 mins. May favorite Christmas cookie, helps if you have elf’s to lend a hand. Makes a lot.
Does it matter if it’s self rising flour or all purpose?
We have only ever used all purpose flour for this recipe. Thanks!
How many cookies does this recipe yield?
Good question. It depends on how thick you make the dough, cookie cutters you use, etc. Approx 3 dozen. Thanks
Is it unsalted or salted butter?
Hello Jennifer,
I have always used salted butter. I don’t think it will make difference if you use unsalted. Thanks for stopping by! Michele
These look so cute and delicious! Thanks for sharing with the Delicious Dishes Recipe party this week!
Great cookie recipe, thank you so much for sharing at Merry Monday!
These sugar cookies look delicious and I make a similar recipe for Christmas. When my kids were young they always helped me decorate them.
These cookies look soo good – I’ve not yet made sand tarts – I must make themm!